# Work Order Management User Manual
| Document Version | Content Revision | Compiled By | Revision Date |
|---|---|---|---|
| V1 | Draft | Guochenghao, Tang Xinxin | 2022-11-14 |
# Table of Contents
# I. Pending List
Displays the work orders that need to be processed by me.
# 1. Work Order List
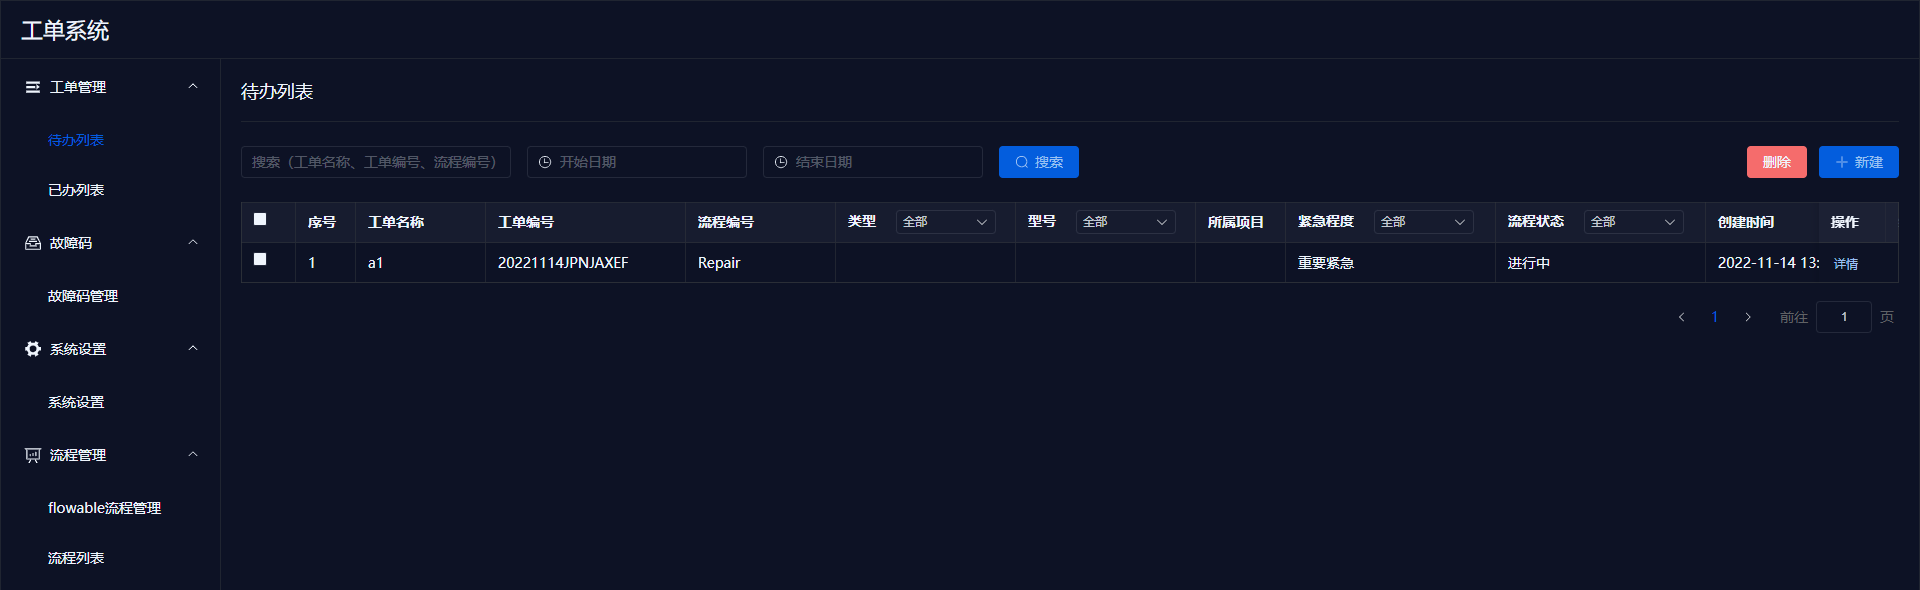
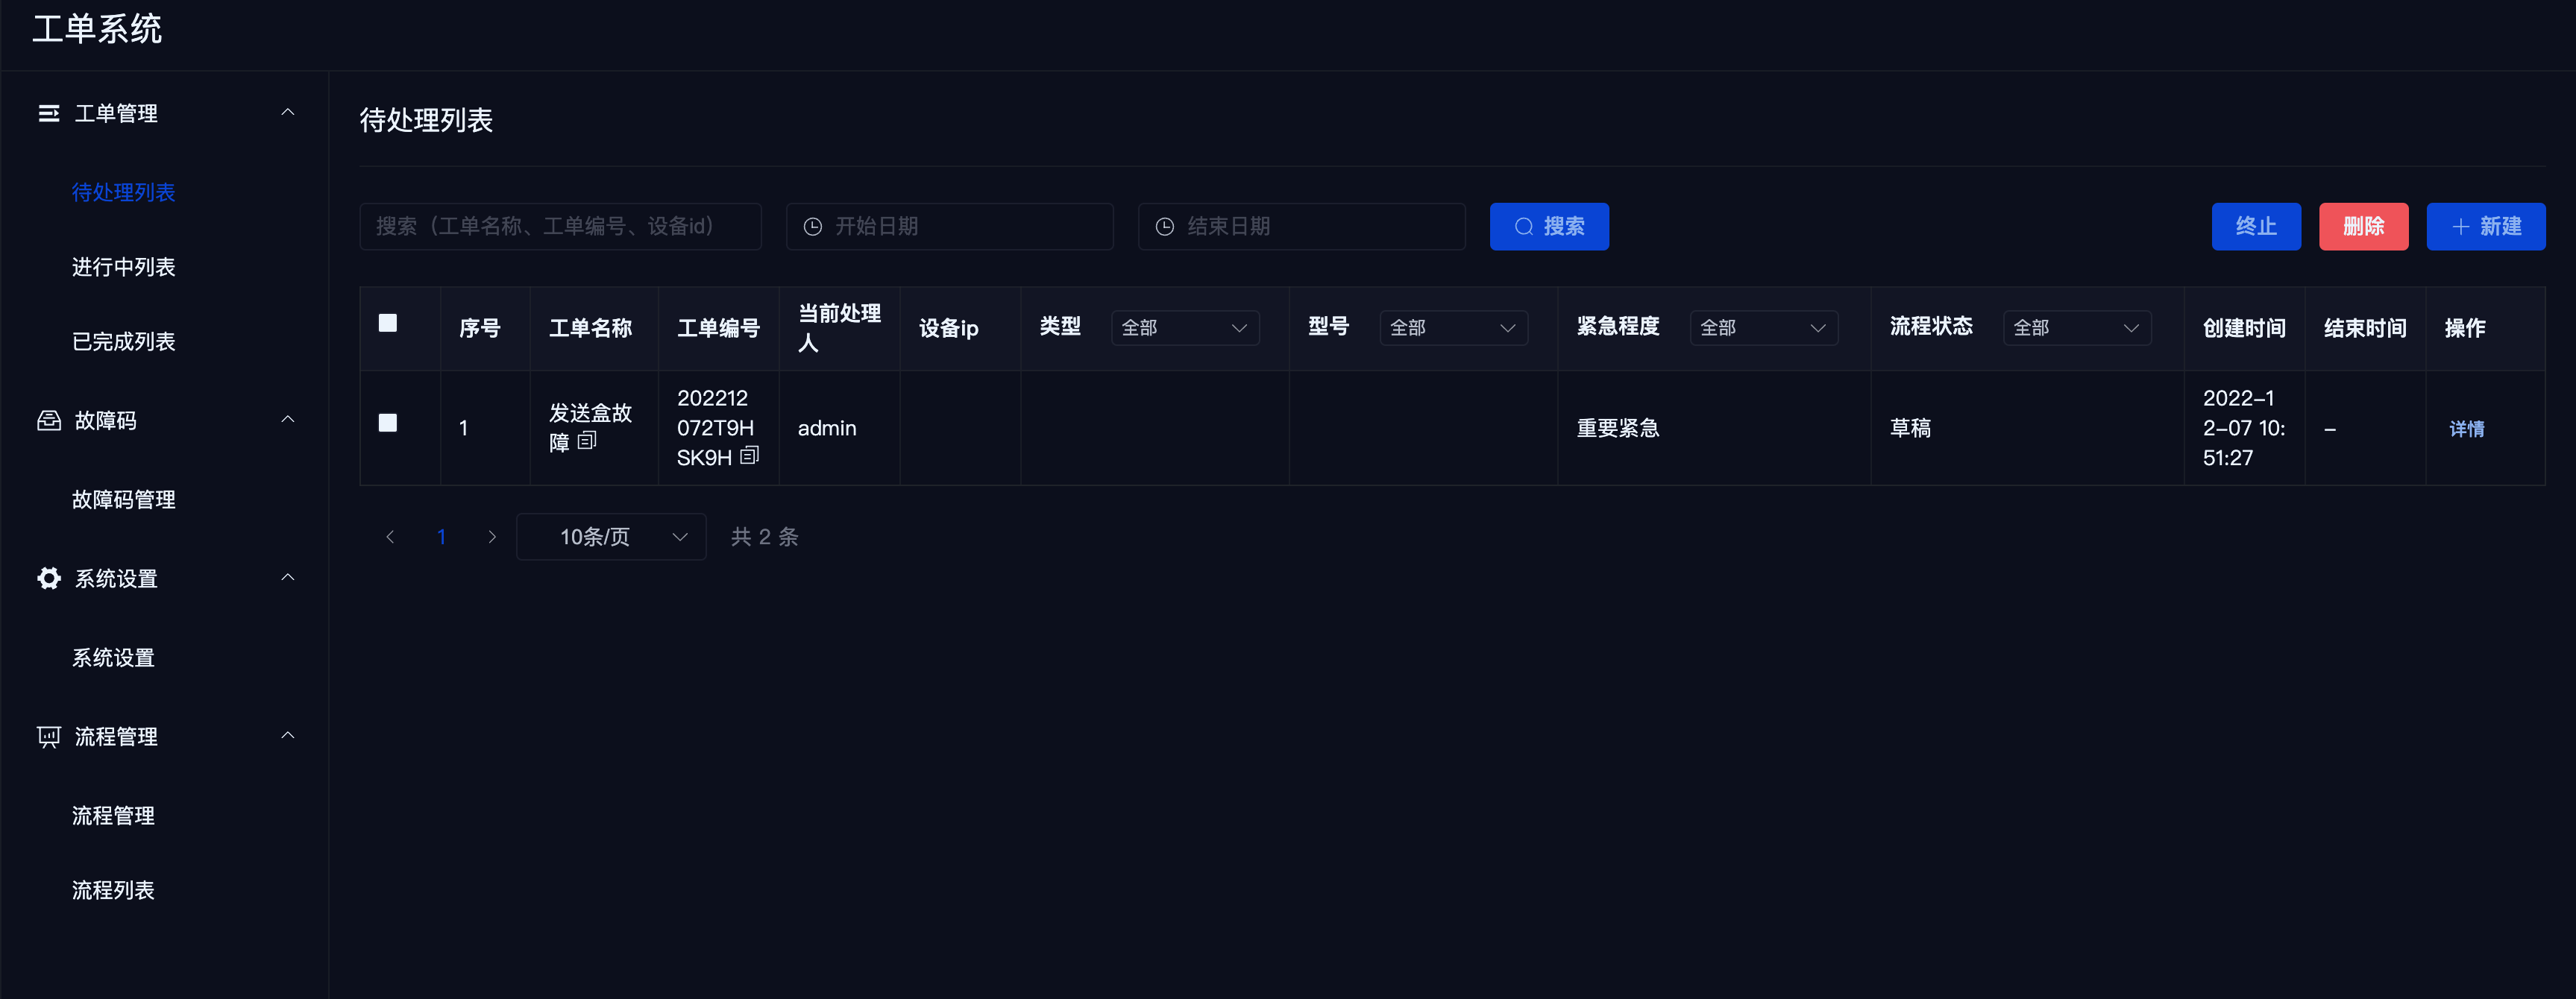
The pending list displays the work orders that need to be processed.
# 2. Add New Work Order
In the pending list menu, click the 【New】 button to bring up a popup. Enter the work order name, fault description, and upload any relevant images/videos, then click confirm to create a new work order.
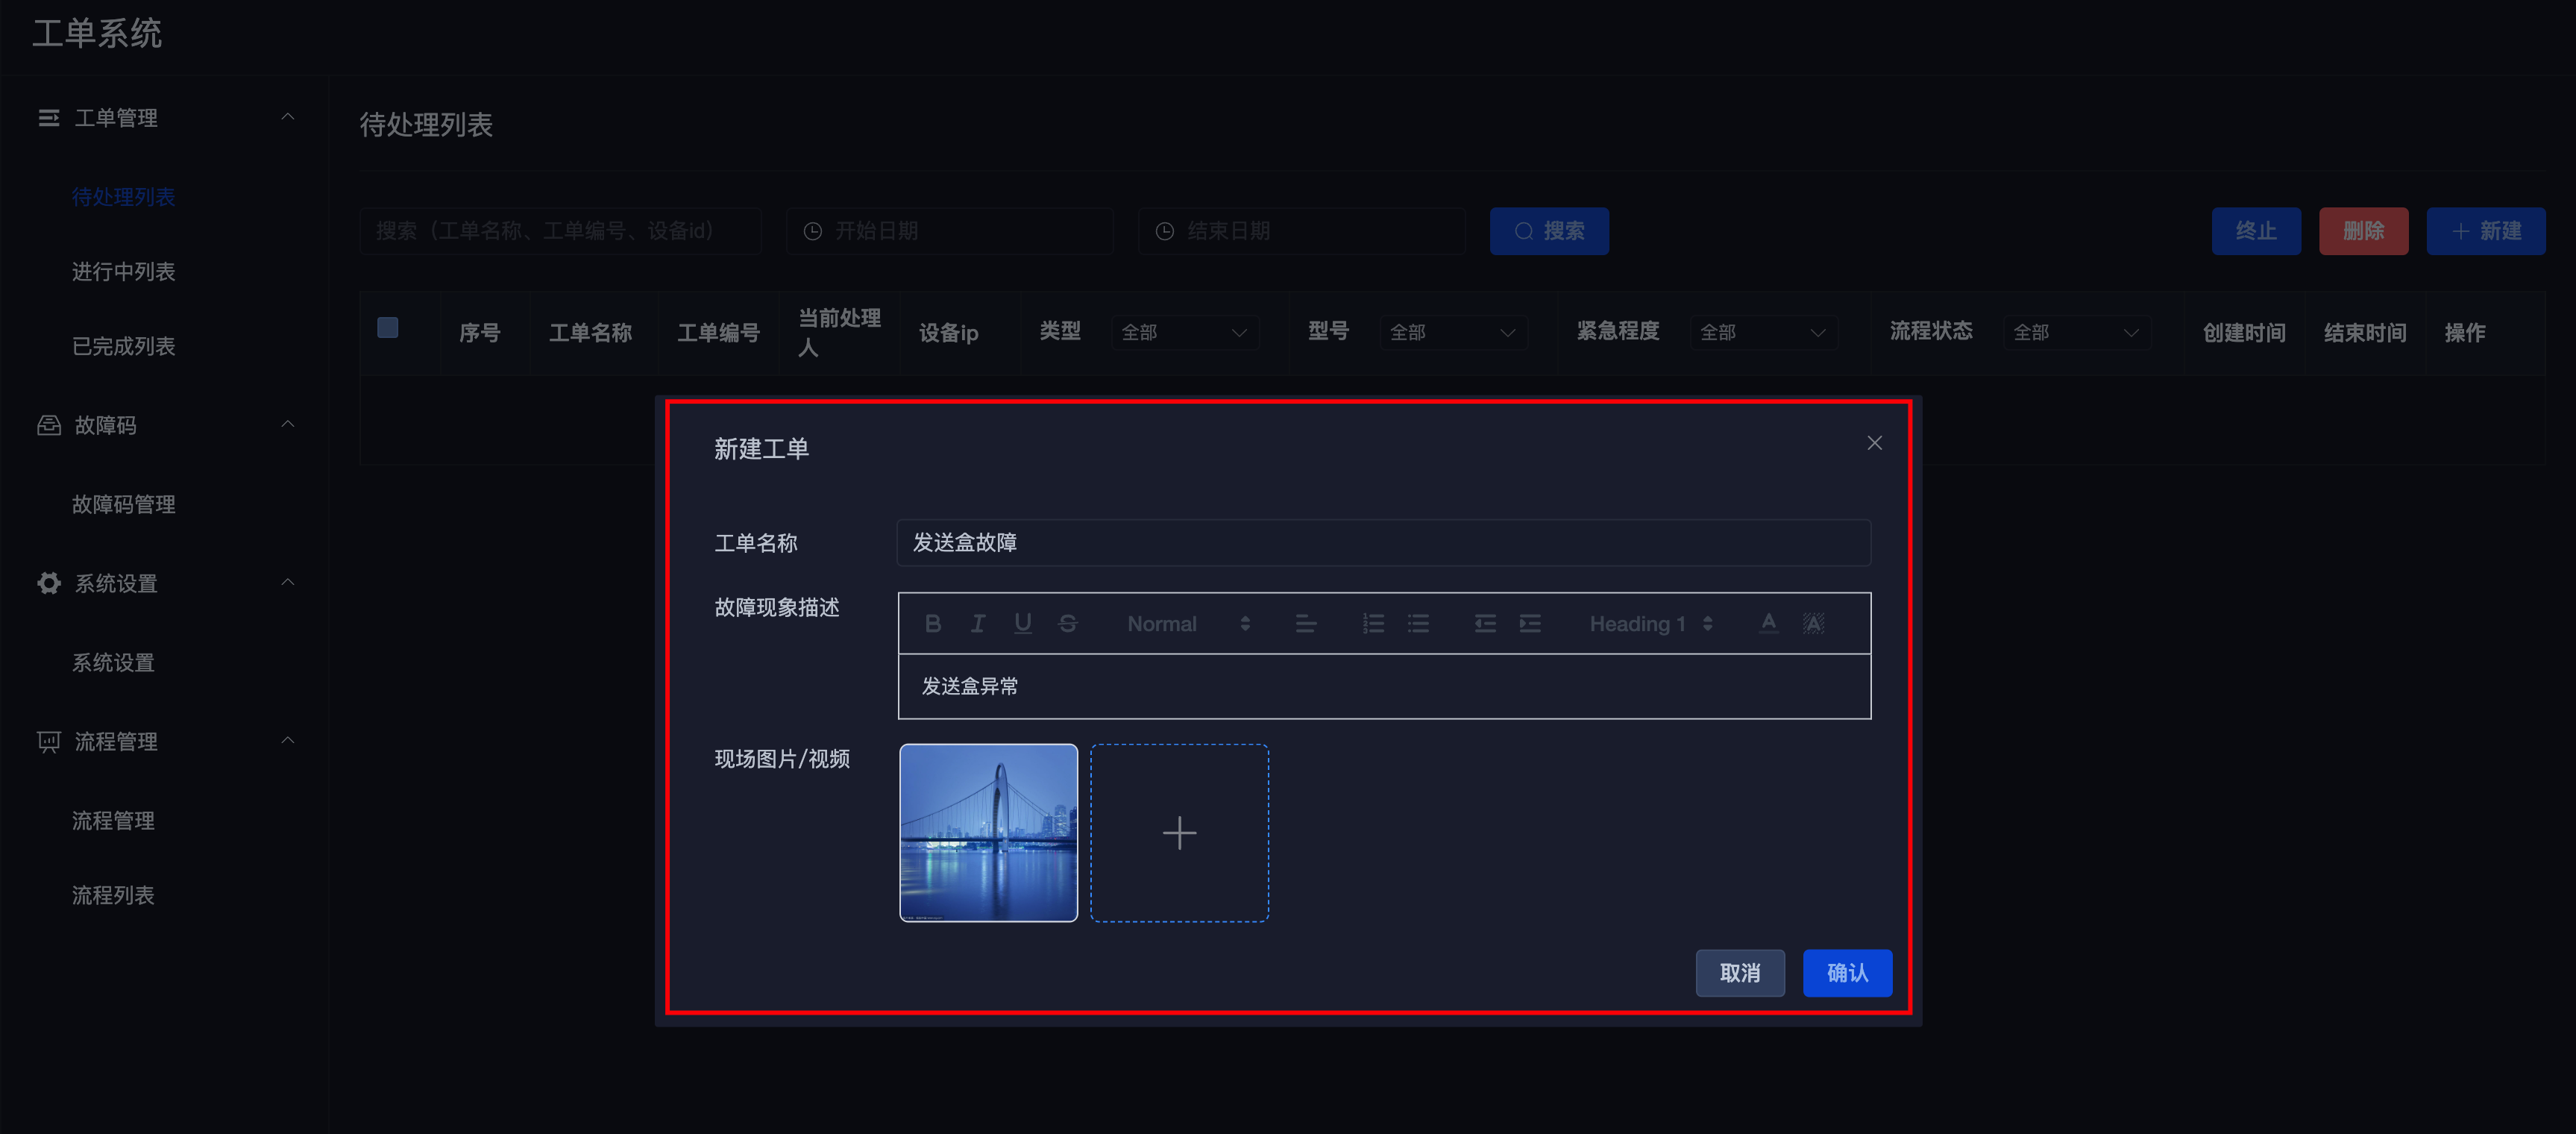
After confirming, the list will automatically refresh.
Notes
There are two ways to create a work order:
- User manually creates a work order.
- Work order is automatically created through alerts from health management.
- For manually created work orders, the default fault type is 【General Fault】, which can be modified in the details.
# 3. Work Order Search
Fuzzy search by work order name, work order number, or workflow number.
Search by work order start and end times.
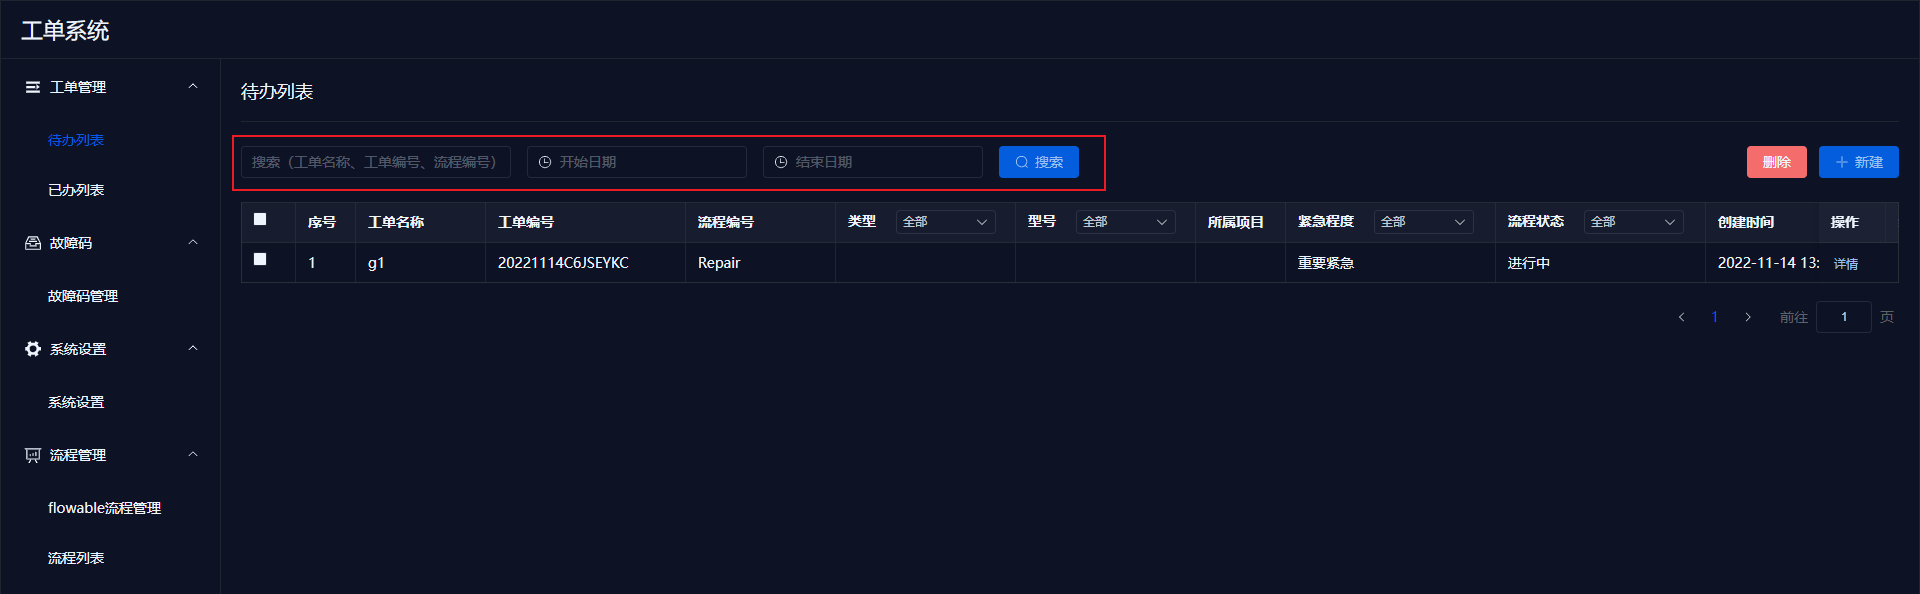
# 4. Delete Work Order
Check the checkbox on the left to select work orders, then click delete to remove them.
# 5. Pending Details
Clicking on details in the pending list will open the work order detail page.
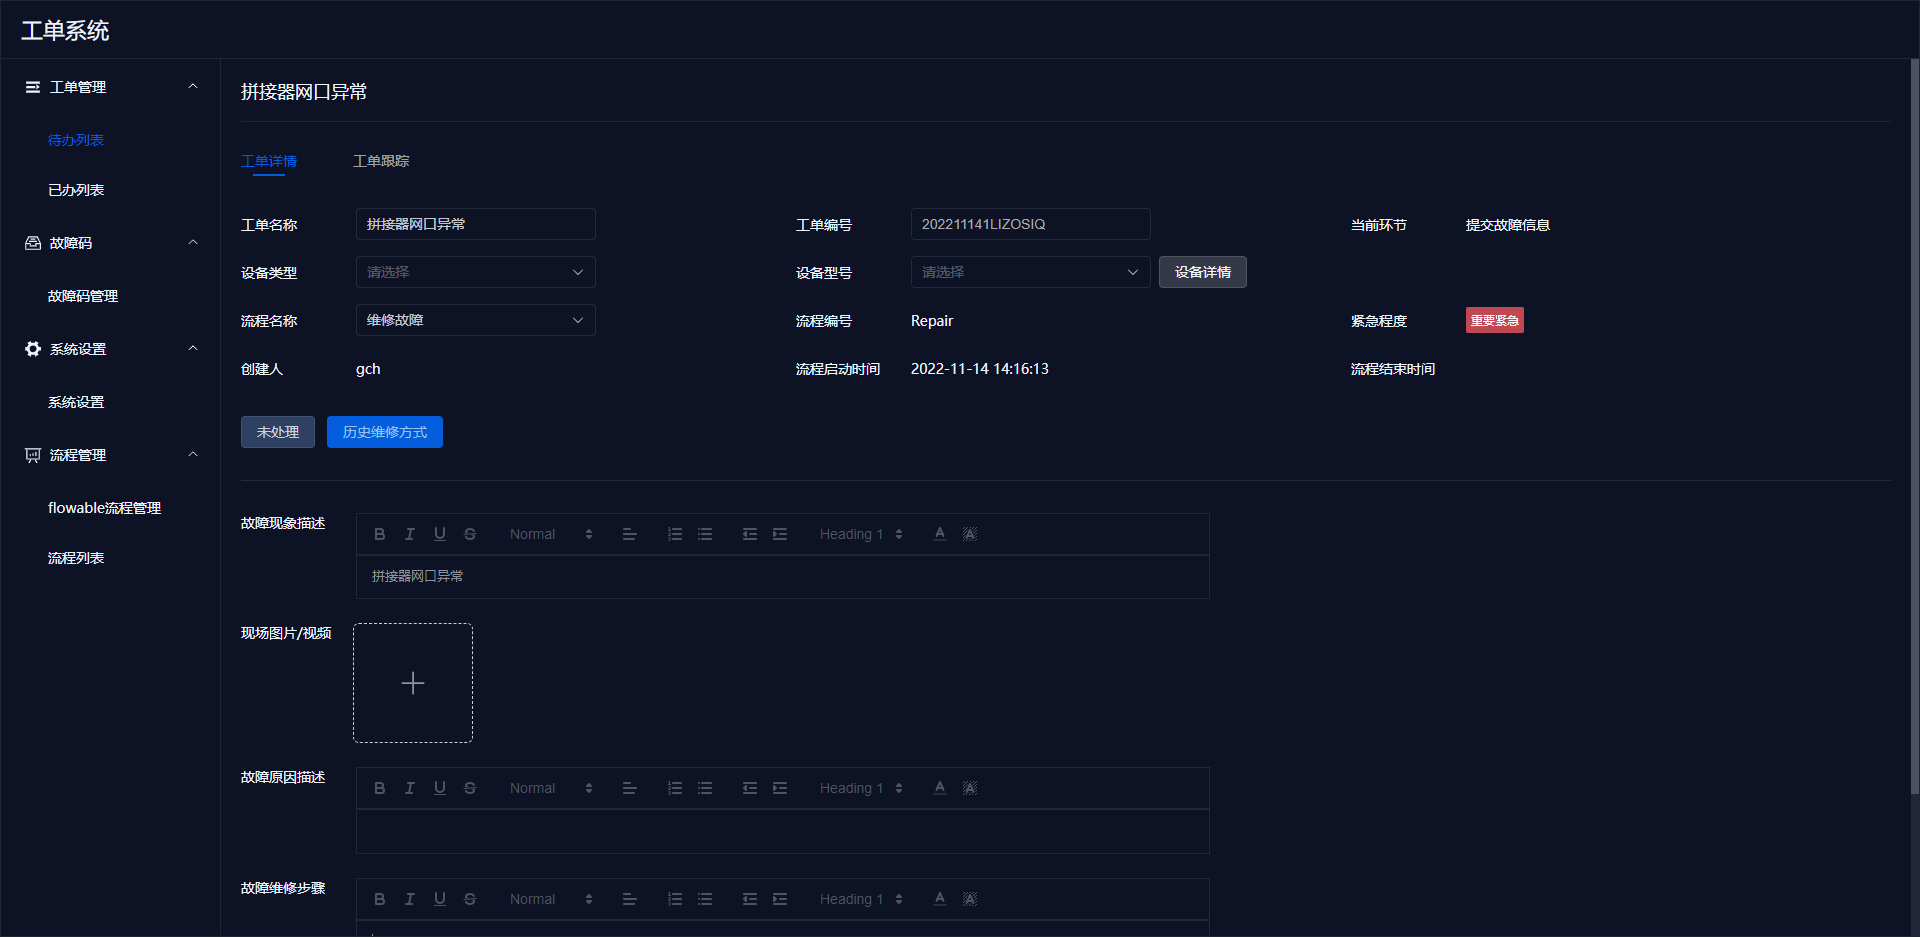
Click the 【Device Details】 button to display relevant information.
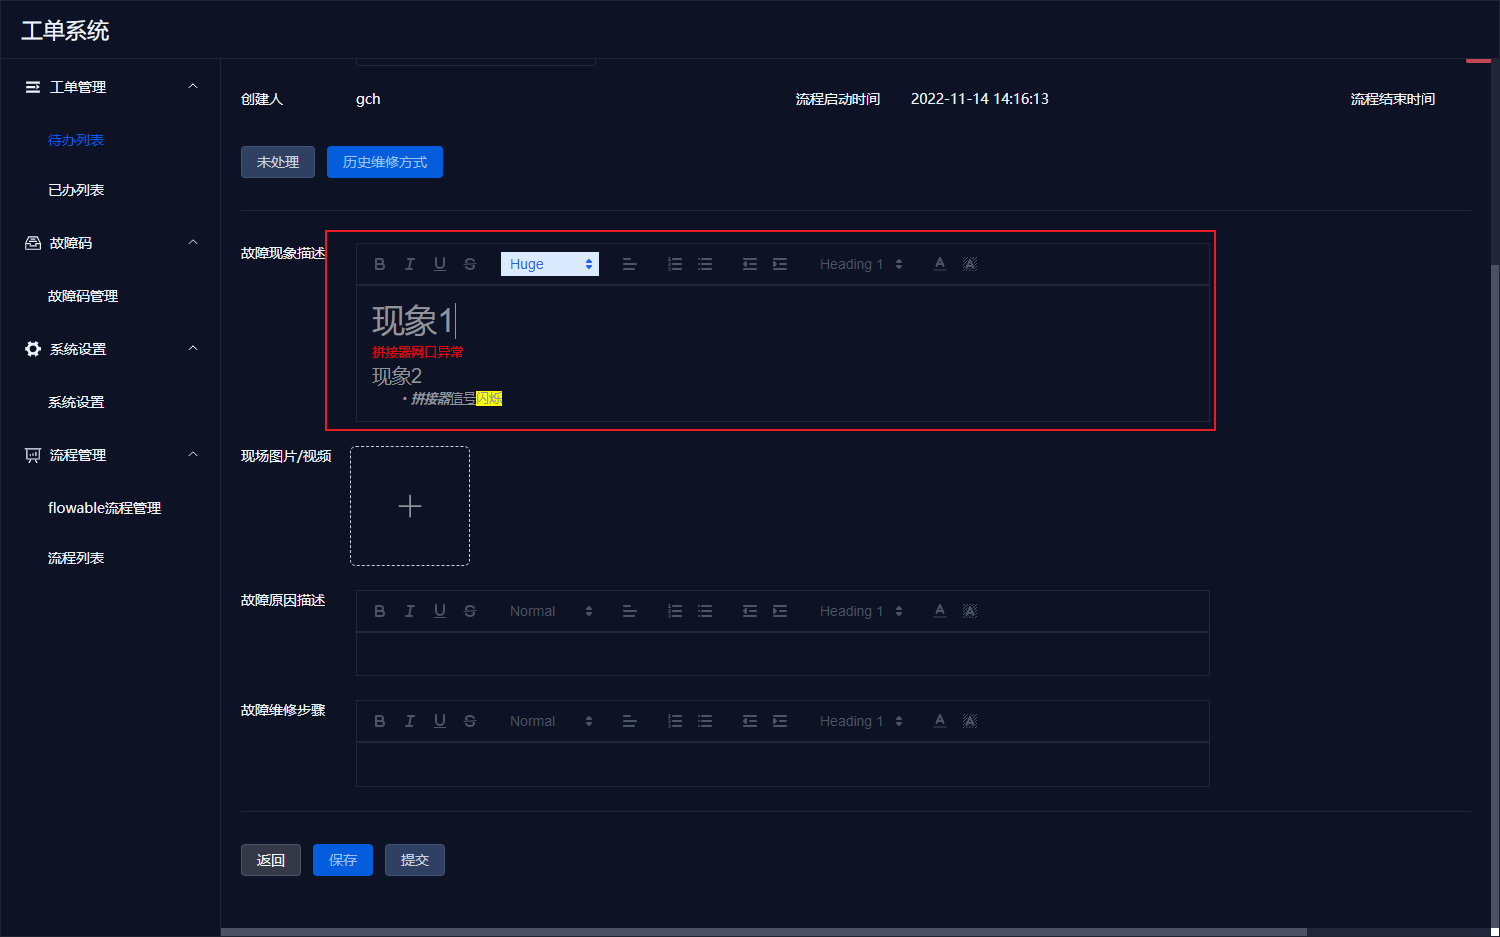
Fault site description, fault cause description, and fault repair steps in a rich text box.
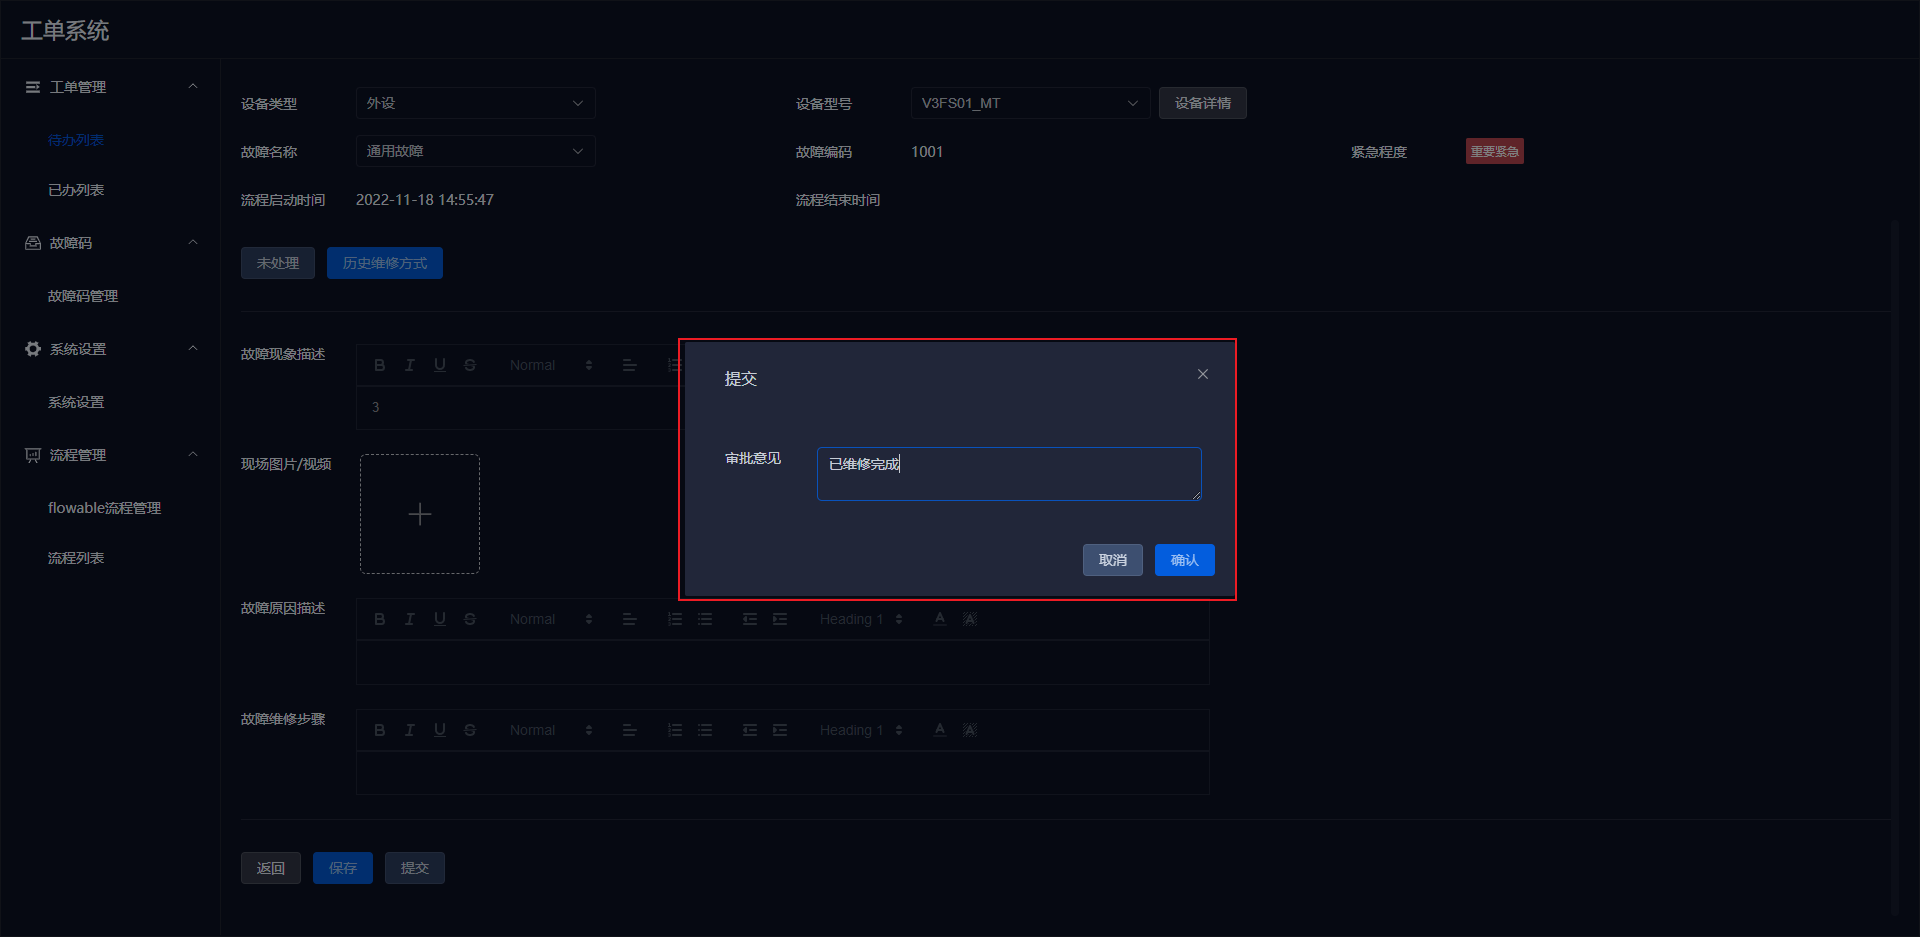
Submit Work Order
Notes:
- Manually created work orders can modify device types; work orders created by health management have a fixed device ID, so the corresponding device type cannot be edited.
- In the 【Device Details】, if the work order was created by health management, it will display device details (same as the asset management device details); if it was manually created, it will display type details (same as the asset management type details).
- Mandatory field validation for submitting work orders:
Submission (N2): Work order name, fault phenomenon description, device type, device model
Maintenance Stage (N3): Work order name, fault phenomenon description, device type, device model, site images, fault cause, maintenance steps Review Stage (N4): Not editable
# II. In Progress/Completed List
Displays ongoing/completed work order information.
- In Progress: Work orders I have processed that are currently not in my hands.
- Completed: Work orders I have processed that are completed or terminated.
# 2. Search
Search methods are the same as for pending orders.
# 3. Details
Completed details are the same as pending details, except that the data is not editable.
# III. Fault Code Management
- Only published fault codes can be used.
- Built-in fault code range is 1000 - 4999, which cannot be edited or deleted.
- Custom fault code range is 5001 - 9999; fault codes added through the new button are all custom fault codes.
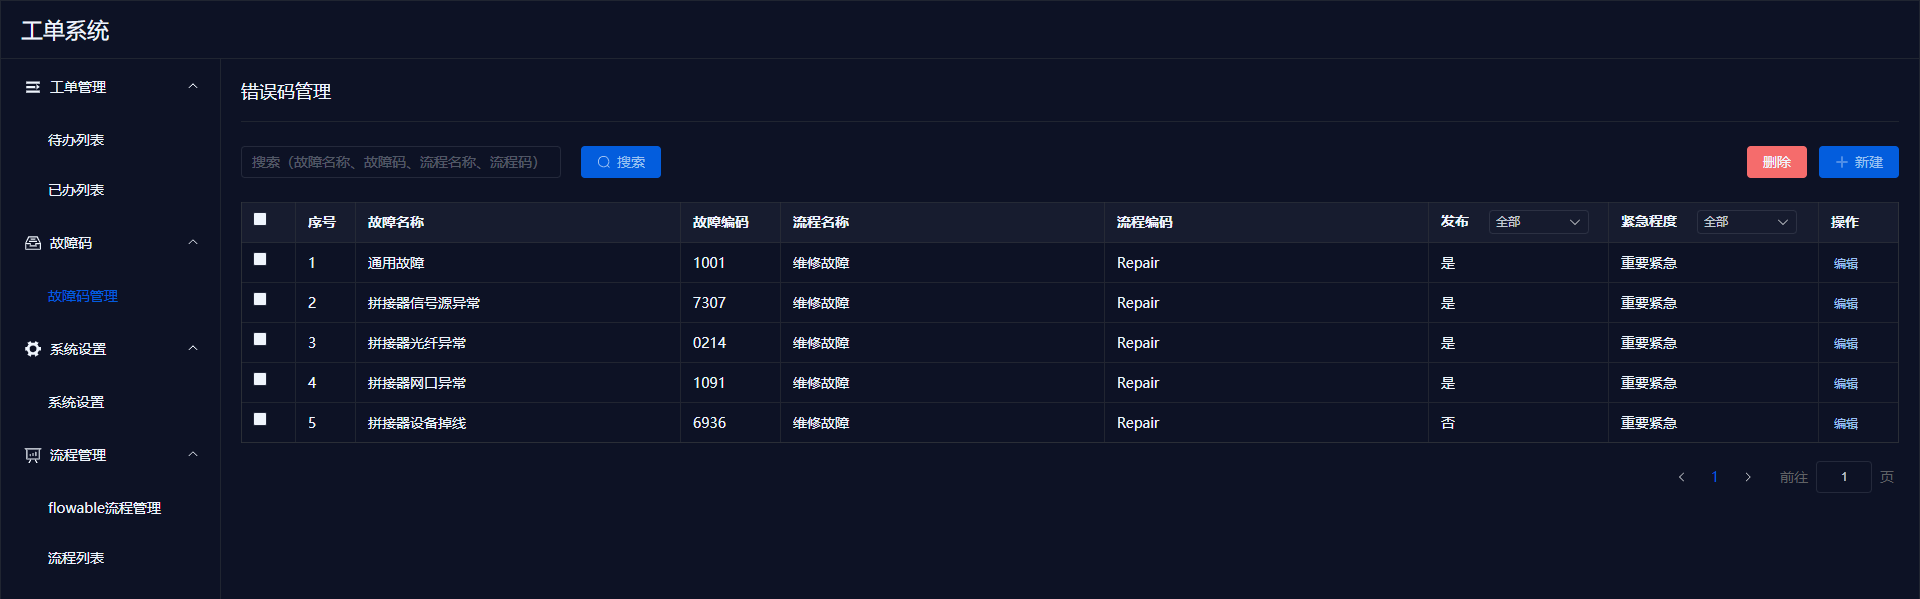
# 1. Fault Code List
Select the 【Fault Code Management】 menu to display the currently available fault code information.
# 2. Add Fault Code
Select the 【Fault Code Management】 menu, click the 【Add】 button on the right side, and a popup will appear. Enter the fault name, workflow, urgency level, and publish status, then click confirm to create a new fault code.
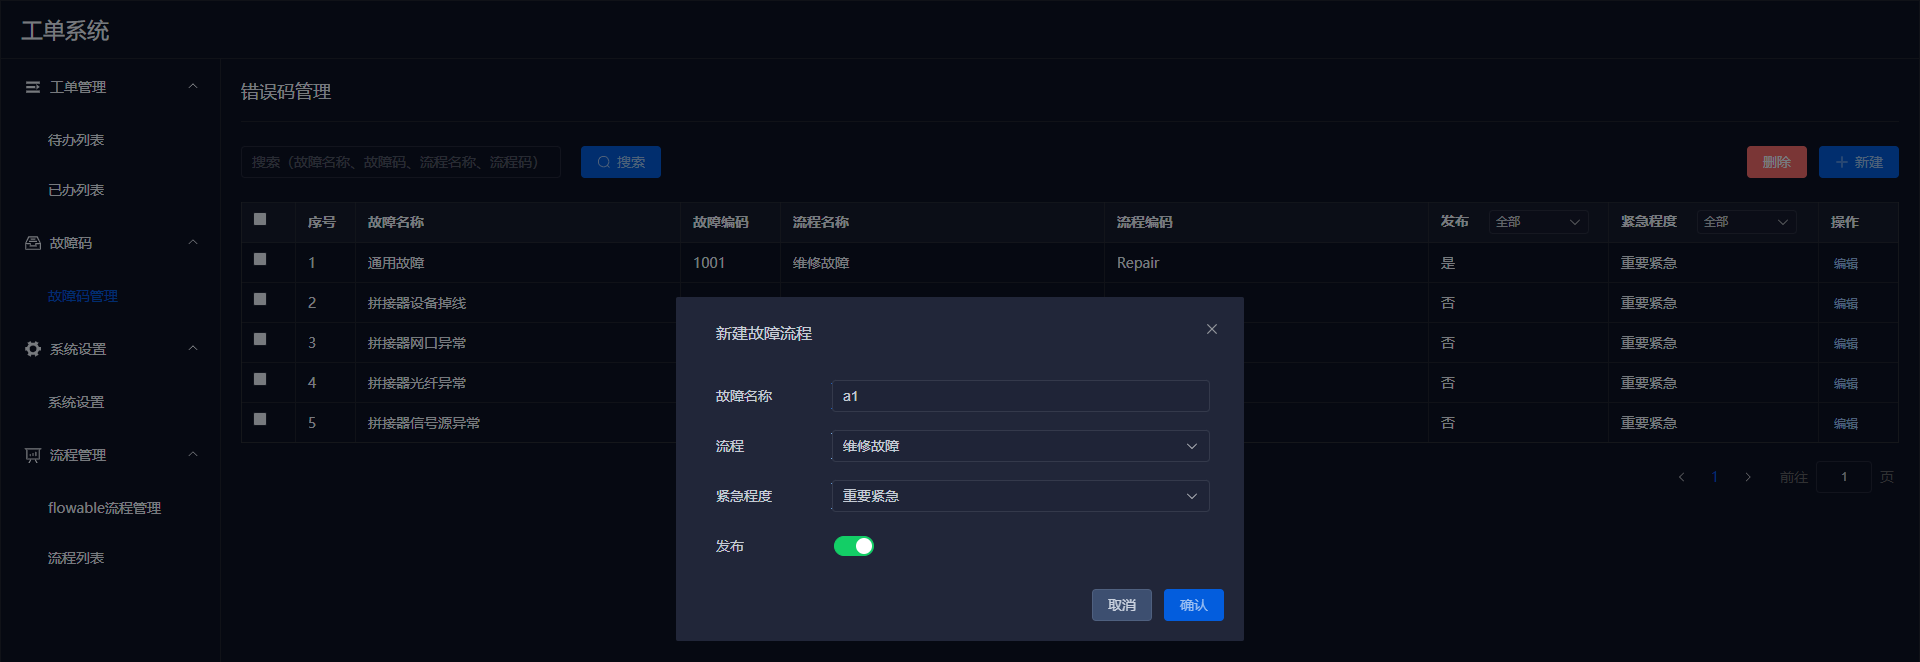
Notes
- The values in the workflow dropdown come from the list of production workflows.
- Only published fault codes can create work orders.
# 3. Delete Fault Code
Found 0 TODO items in 0 files
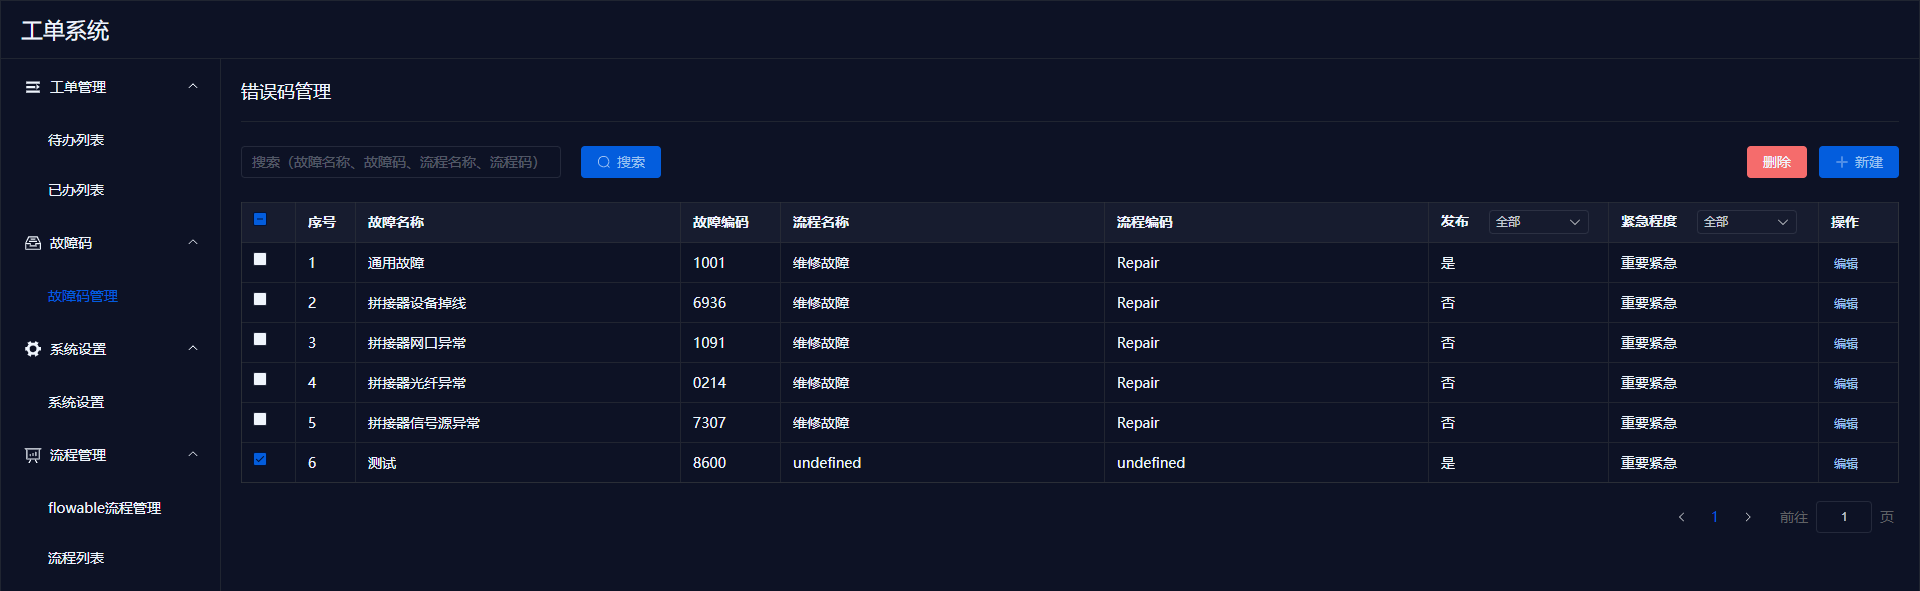
Notes:
- Only unpublished fault codes can be deleted.
# 4. Edit Fault Code
Click the 【Edit】 button to modify the fault code's name, workflow, urgency level, and publish information.
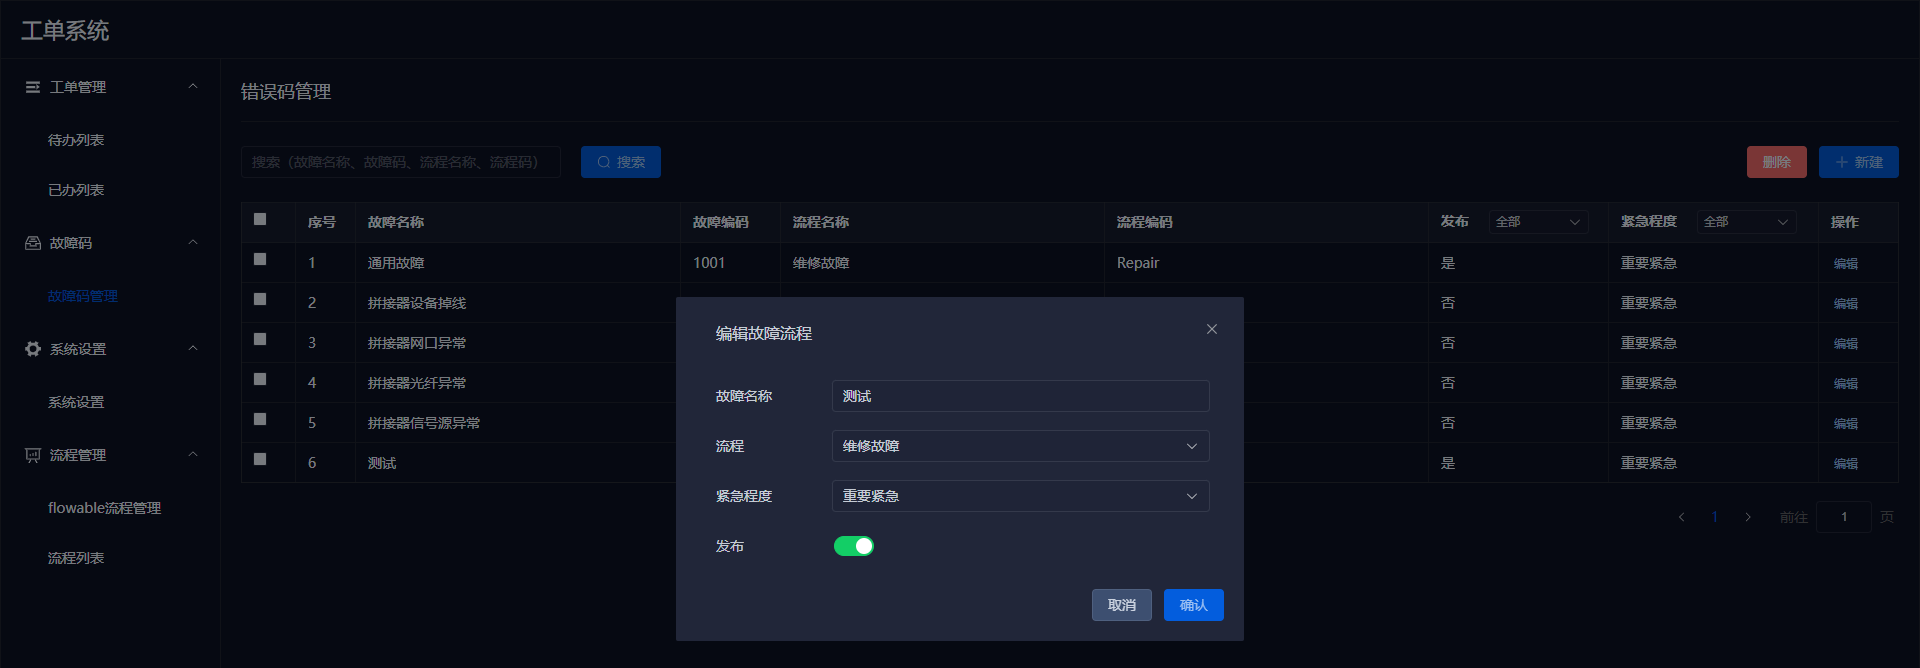
Notes:
- Published fault codes that have been used cannot be reverted to an unpublished status.
# IV. System Settings
# 1. Import and Export
- Exporting includes all device data, type data, and their corresponding image files. The exported data package name format is
export.project.timestamp.zip,Extracted files will be as follows:

Importing is done by re-importing the exported zip package,modifying the zip file is prohibited
Import logic: If there is data, it will update the data. If there is no data, it will add new data. Importing an empty file will not update anything.
# V. Workflow Management
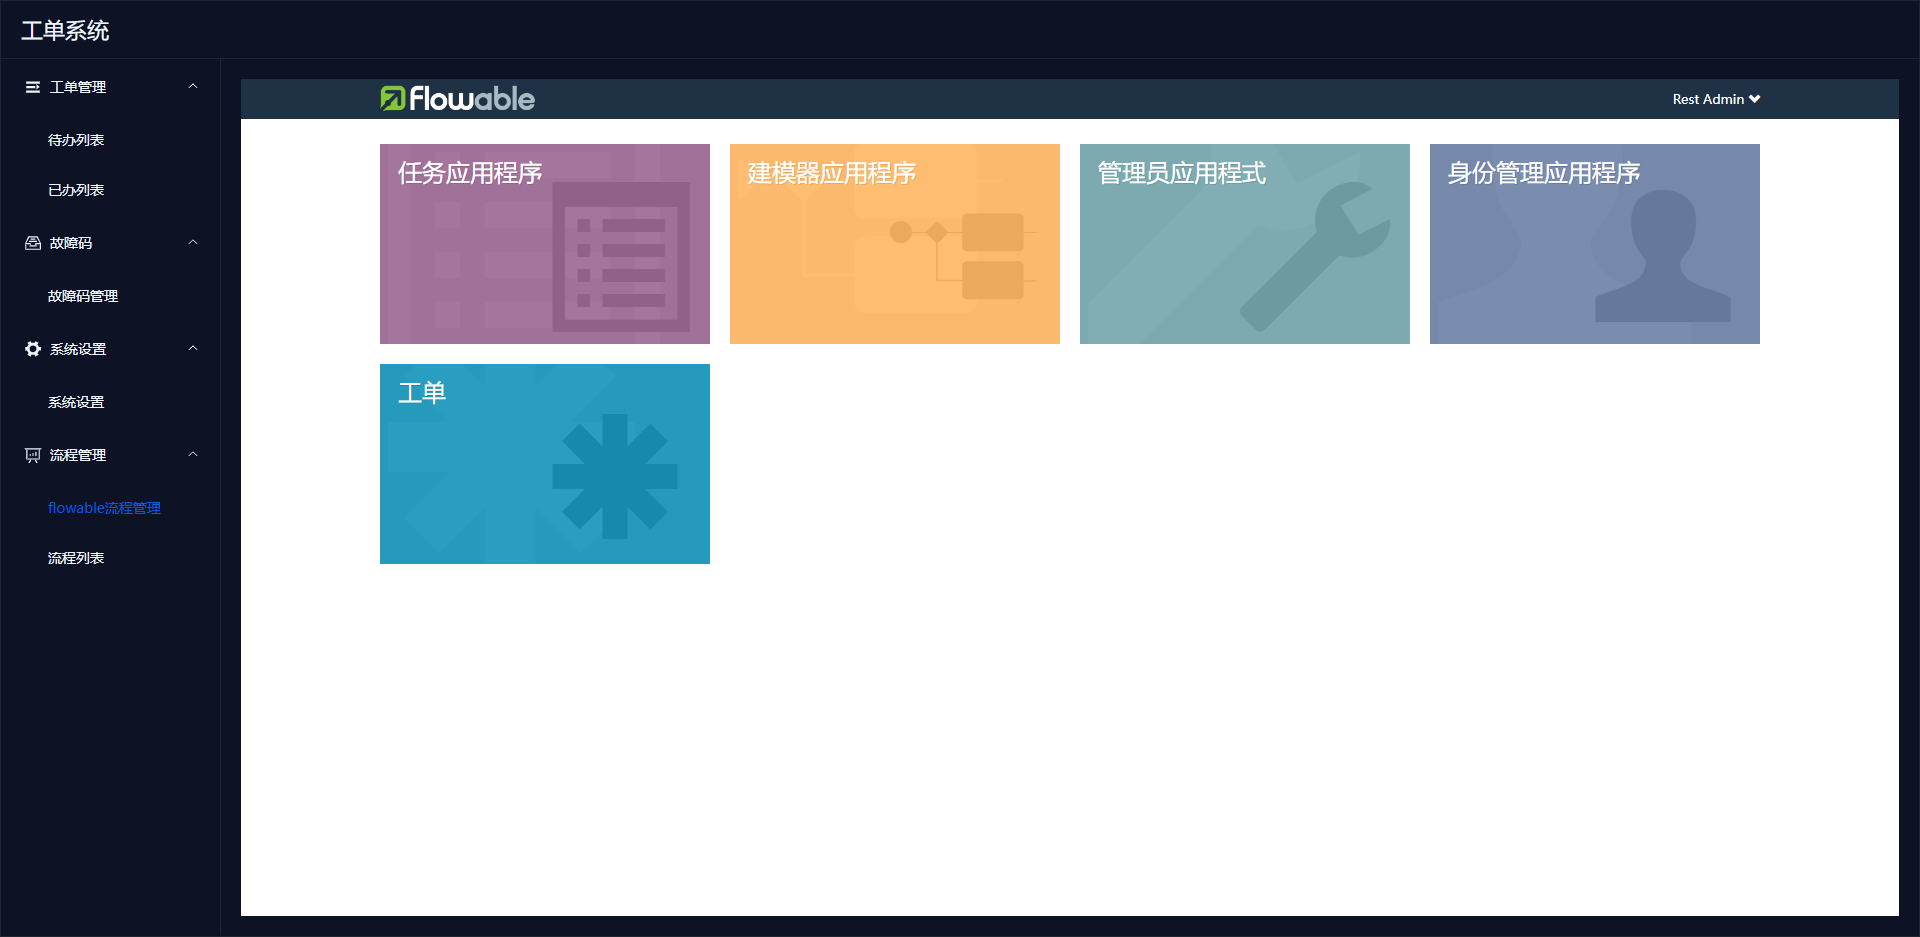
# 1. Flowable Workflow Management
This menu embeds theflowable-uimanagement page.
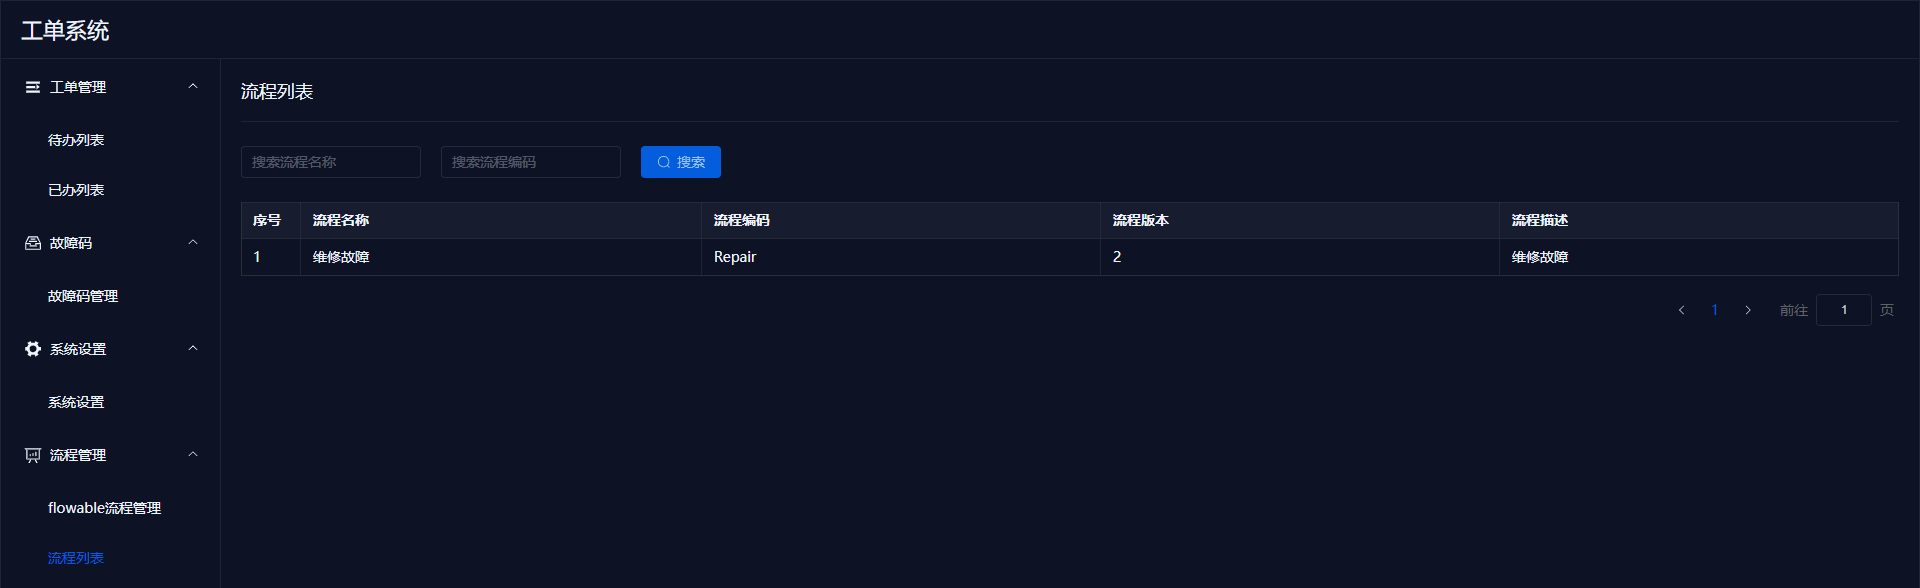
# 2. Workflow List
The information in the workflow list refers to the workflows that already exist inflowable.