# Knowledge Base Deployment Manual
| Document Version | Content Revision | Revised By⼈ | Revision Date |
|---|---|---|---|
| V1 | Draft | Guochenghao | 2022-11-23 |
# Table of Contents
# I.Prerequisites
Ensure that the CCS PRO service has been started normally.
# II.Database
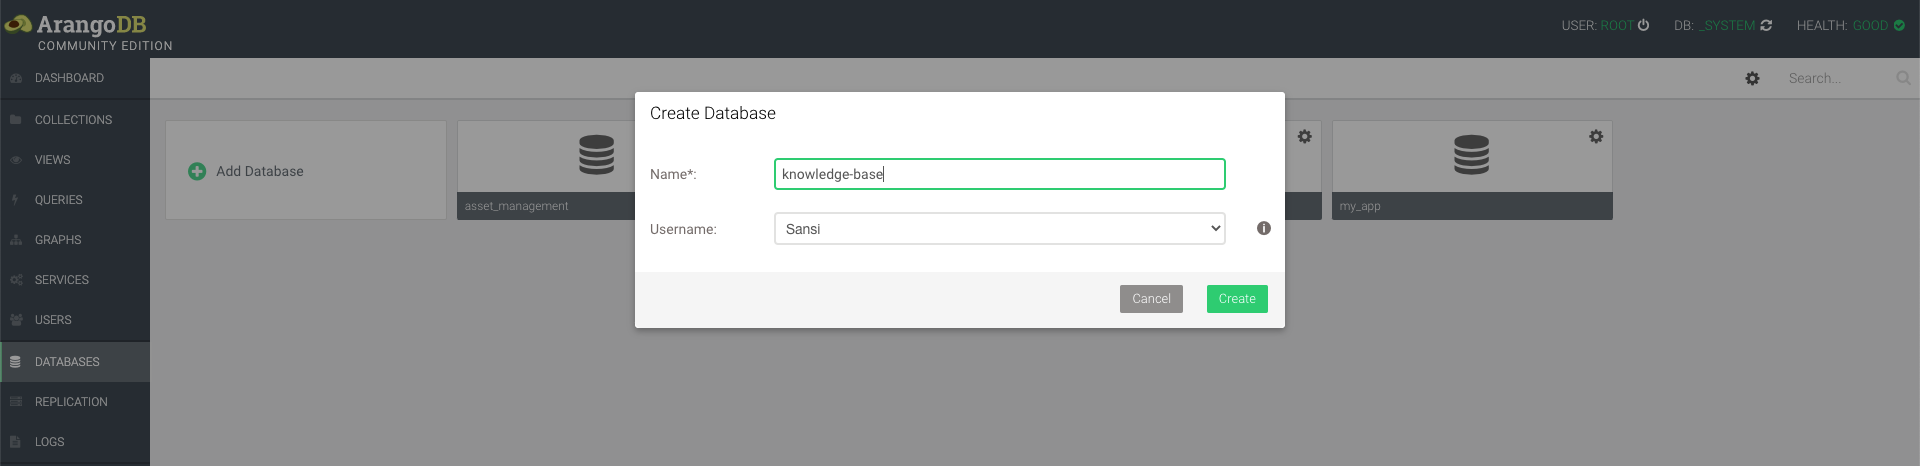
Log in to the _system page as root: http://127.0.0.1:8529
Create a knowledge base database named【knowledge-base】
# III. Running the Knowledge Base Backend Service
# 1. Obtain the Software
Download link:

Unzip the downloaded zip file; the file structure is as follows:

File Descriptions
| Program Name | Platform |
|---|---|
| kkfileview | Document preview plugin |
| knowledge-base-server.zip | Supports running on Linux systems such as Ubuntu, CentOS, and domestic operating systems like Kylin UOS |
# 2. Running
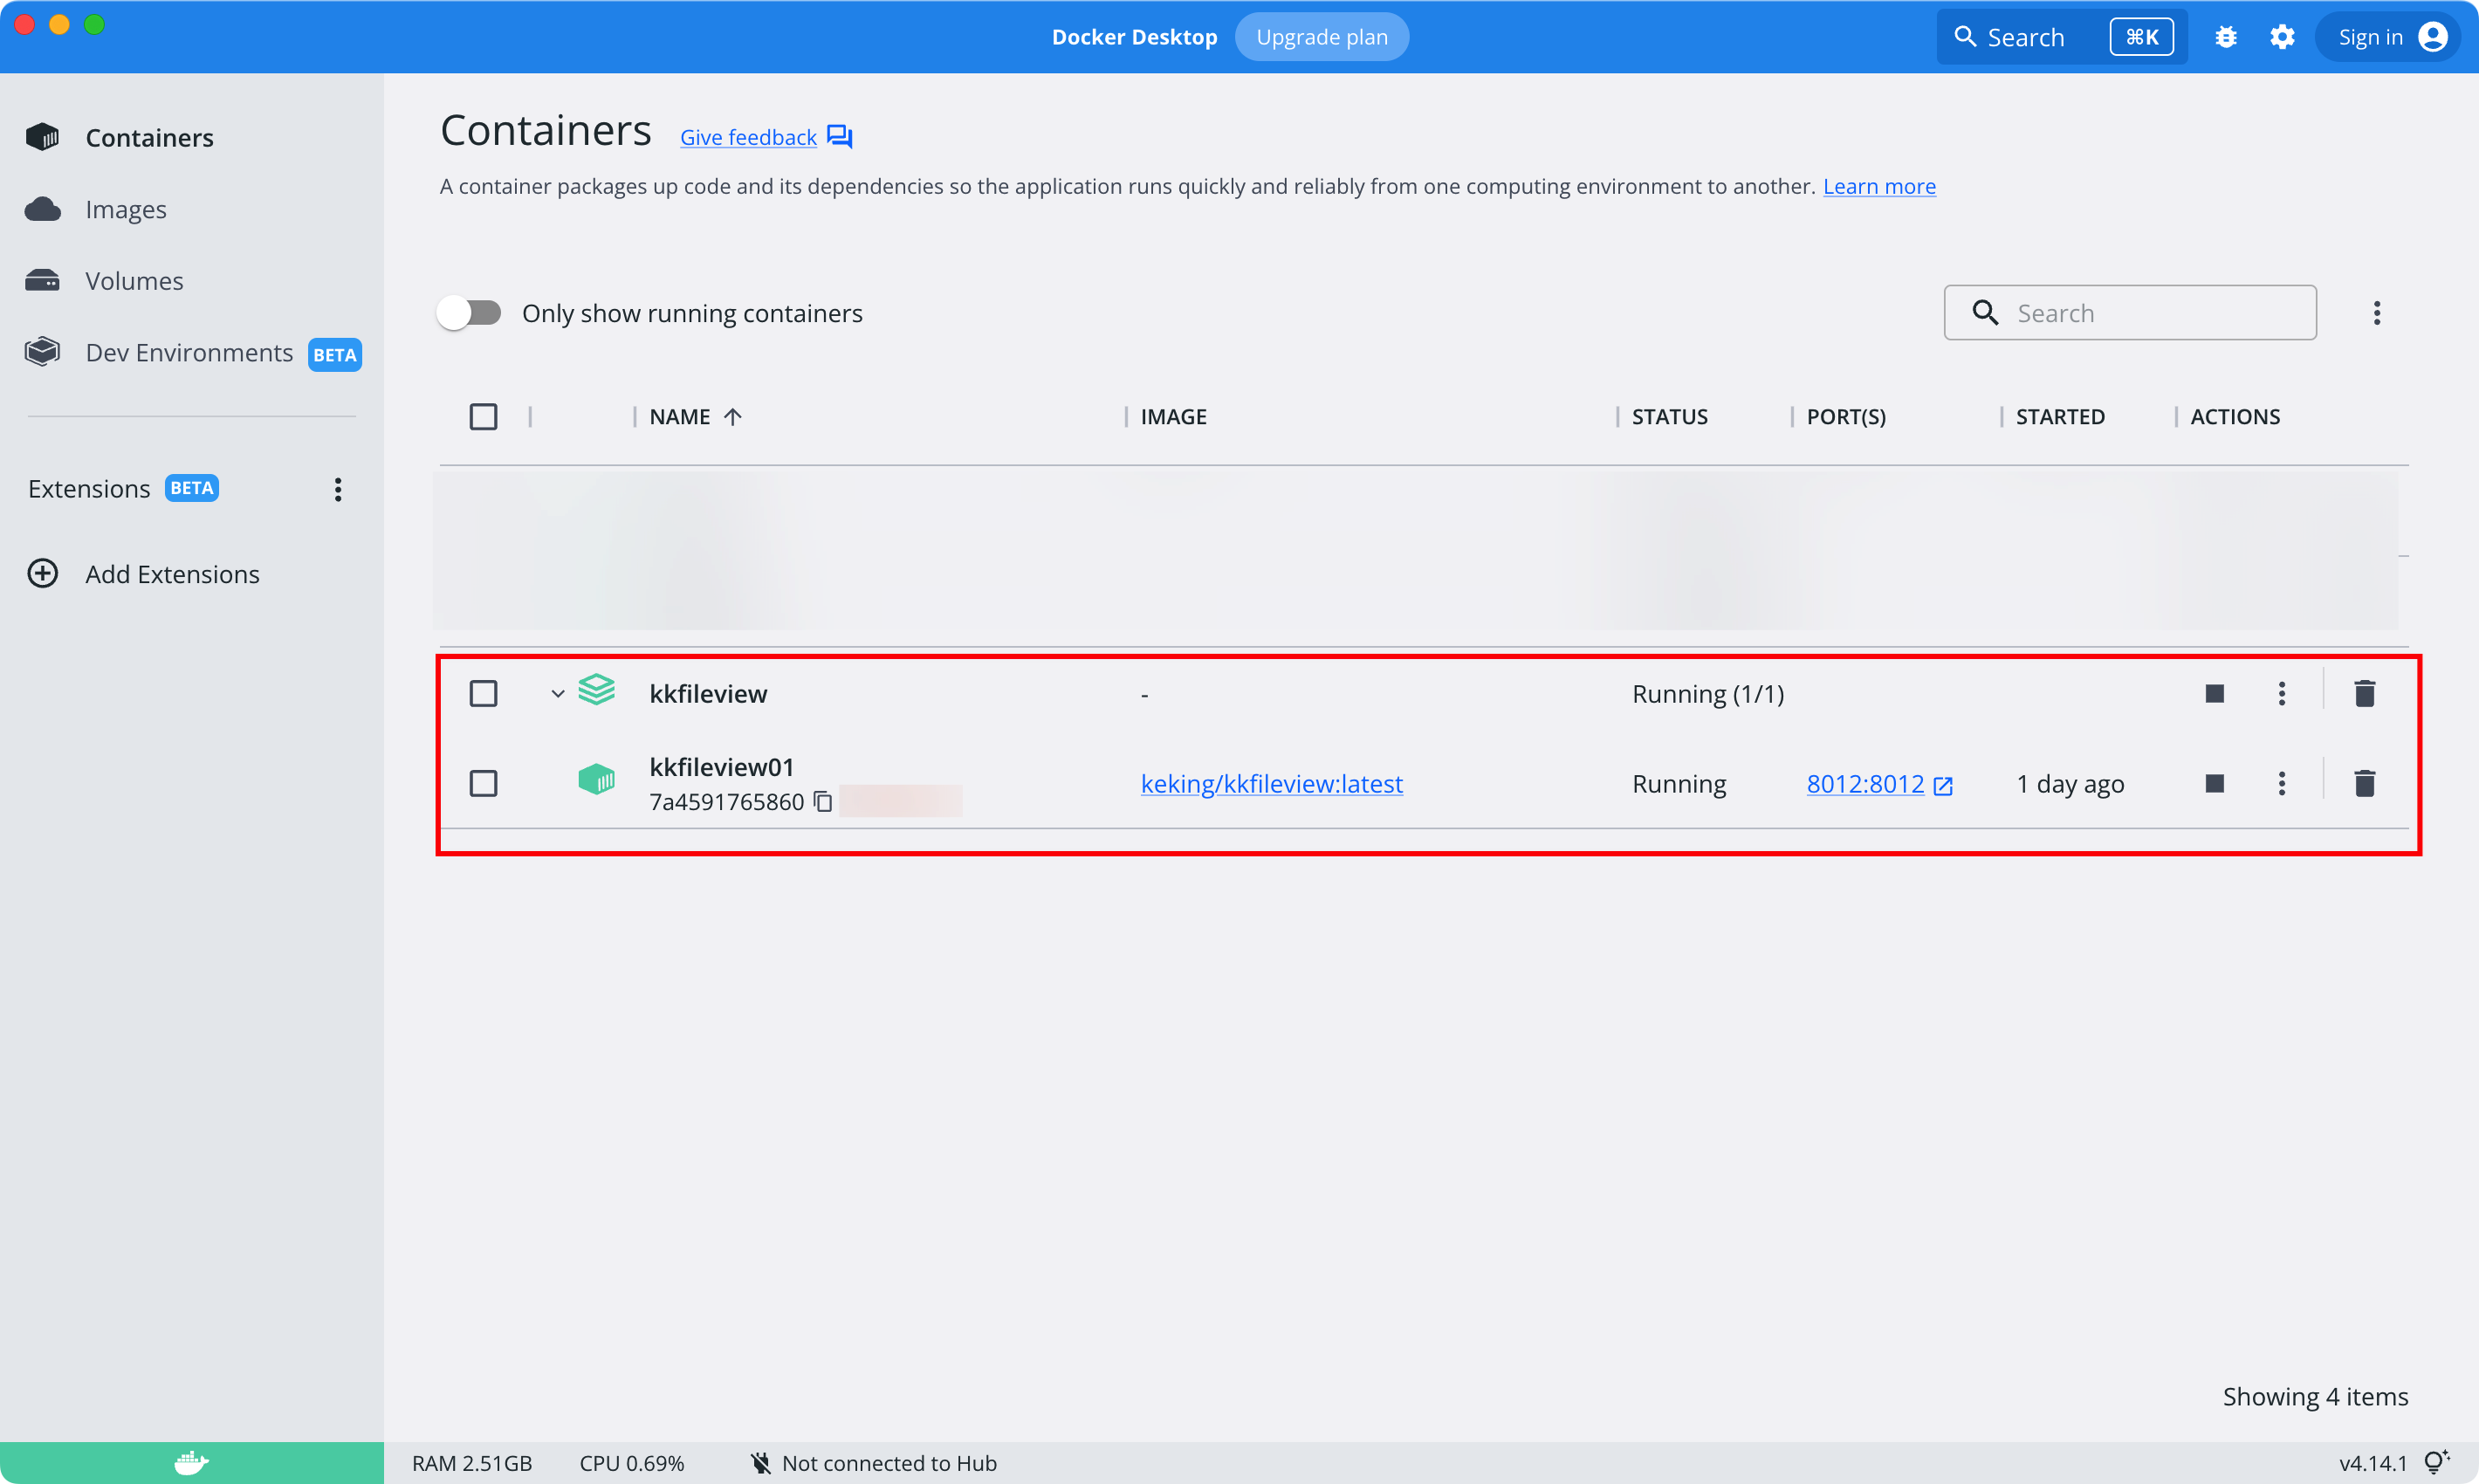
# Start Kkfileview
Navigate to the Kkfileview folder and double-click start-win.bat to run Kkfileview. Once started successfully, Docker will start one container:
# Start the Knowledge Base
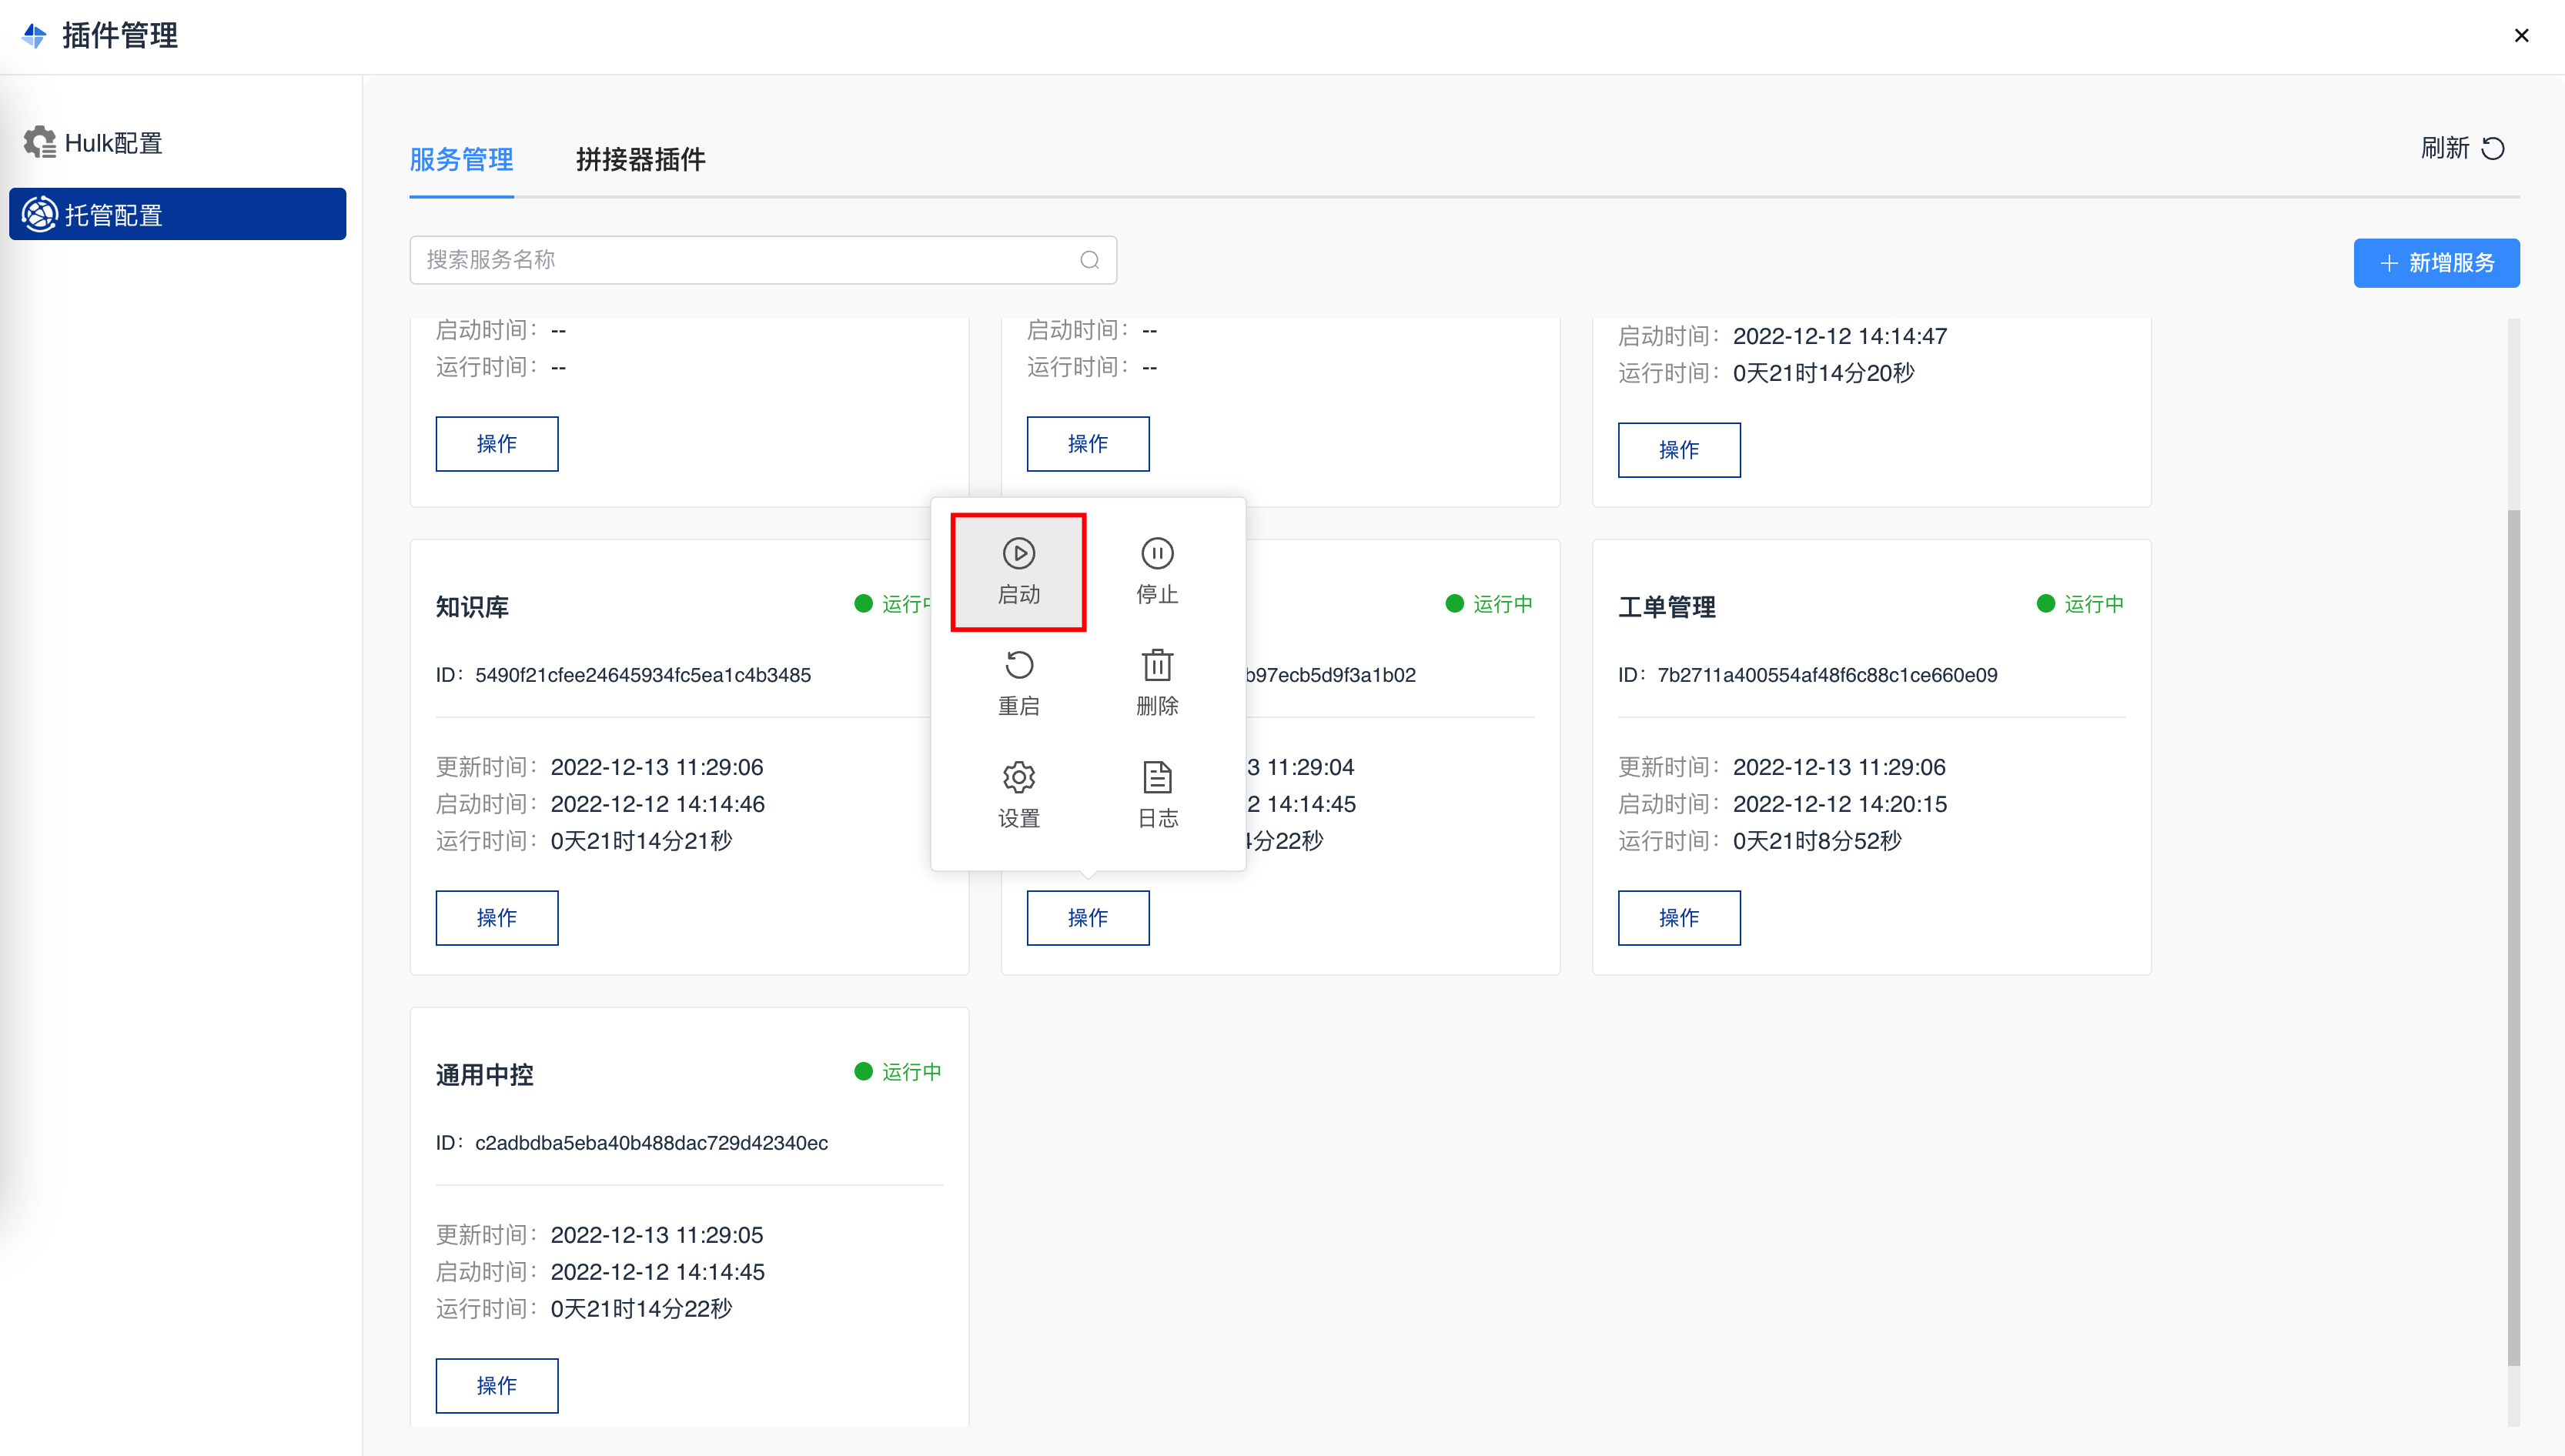
# Method 1: Start via Hulk
Go to the Hulk configuration page, and click the 【Add Button】 in the upper right corner.
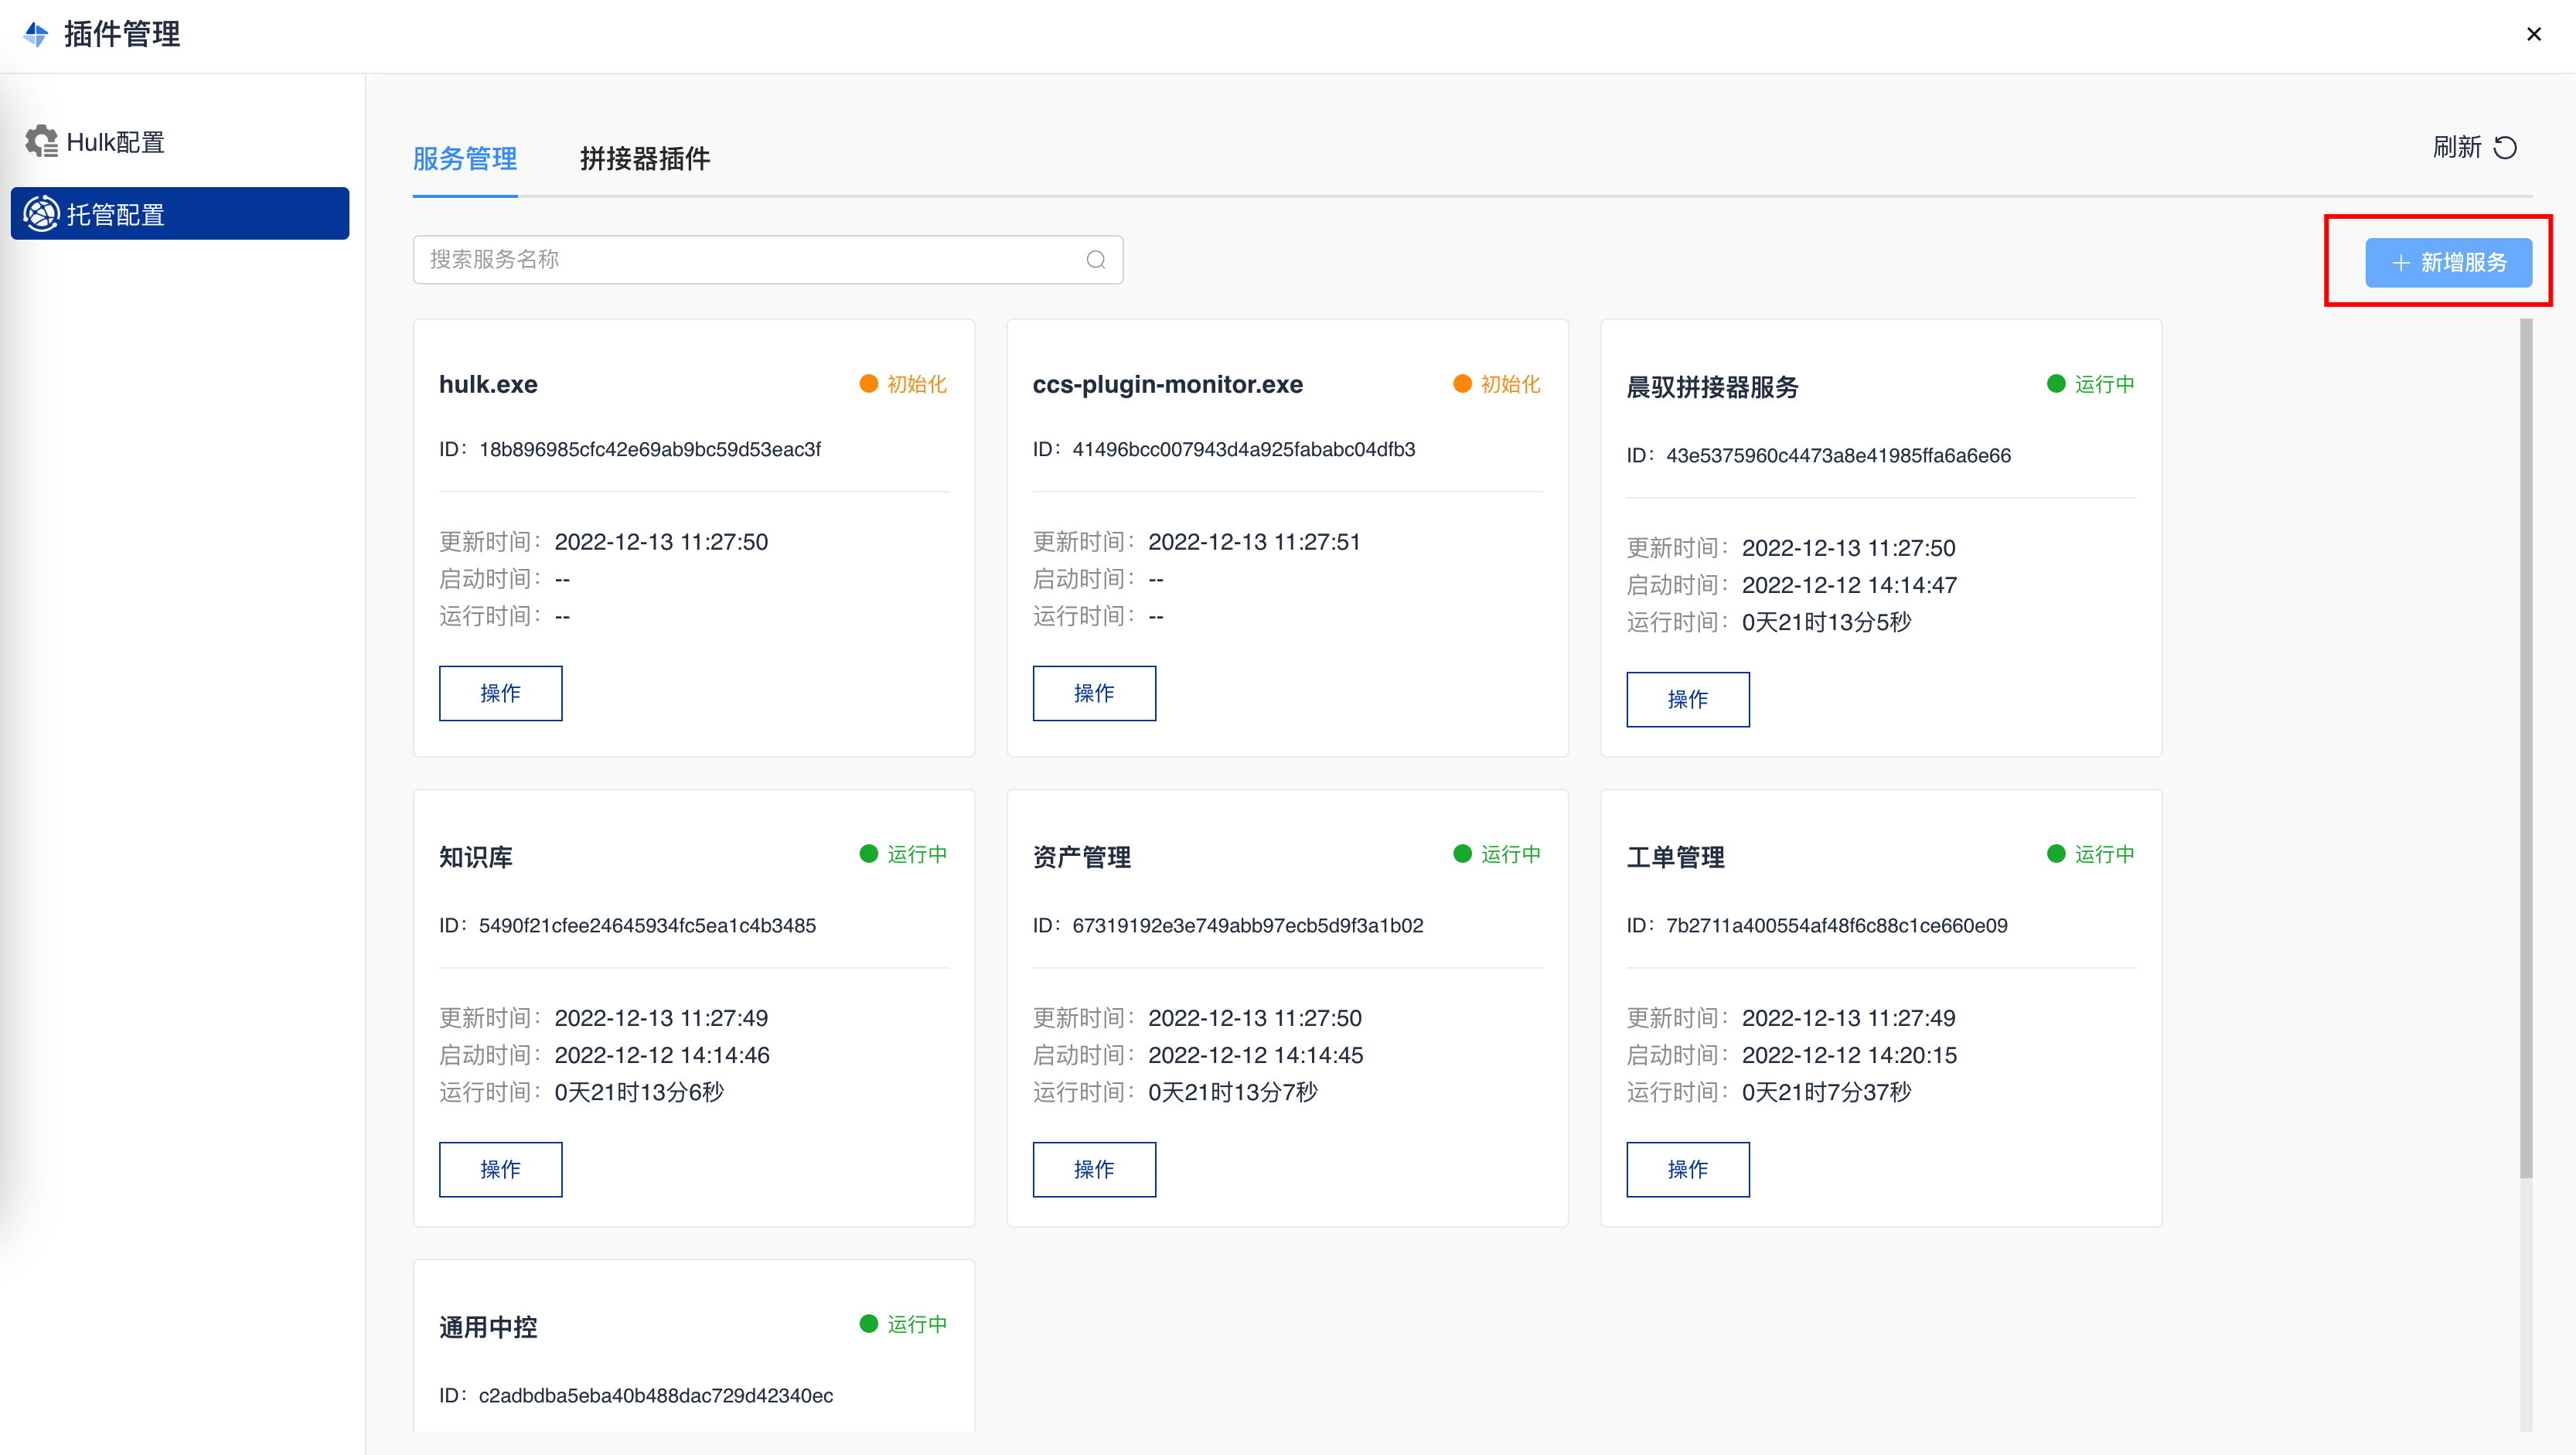
Select the 【asset-management-server.zip】 file.
Enable the service.
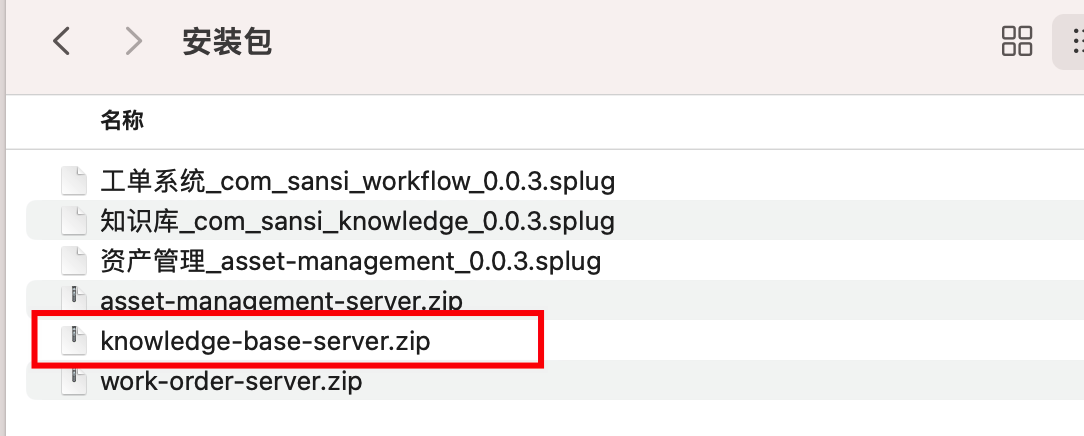
# Method 2: Manual Start
Unzip the 【work-order-server.zip】.
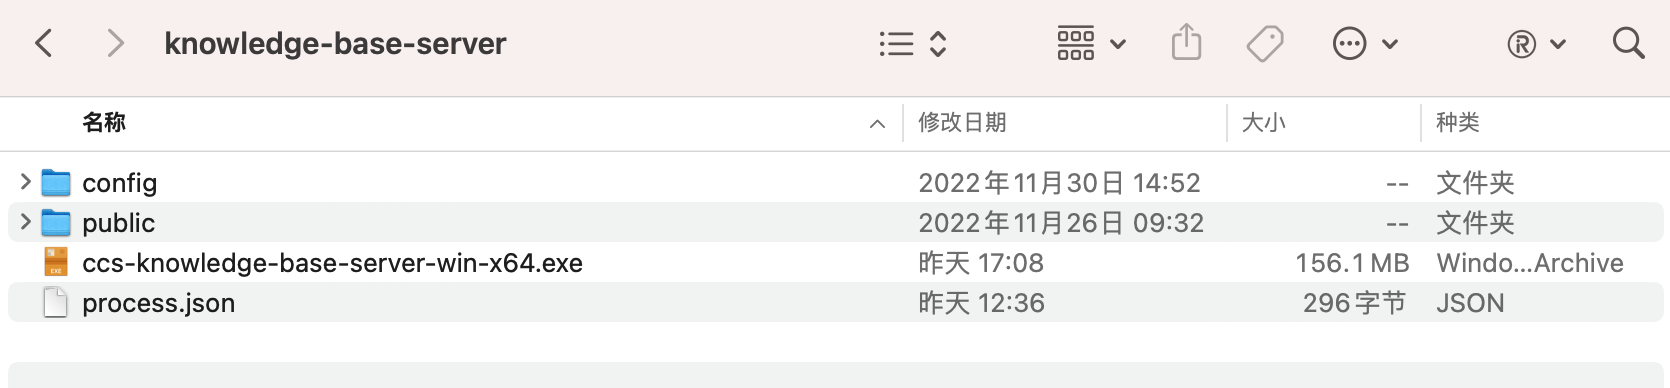
File Descriptions
| File Name | Platform |
|---|---|
| config | Configuration File |
| public | Static Files |
| ccs-knowledge-base-server-win-x64.exe | Executable File |
| process.json | Hulk Descriptor File |
The software comes with an x86_64 executable version by default. For support on domestic operating systems and chips, please contact the development team for a customized version.
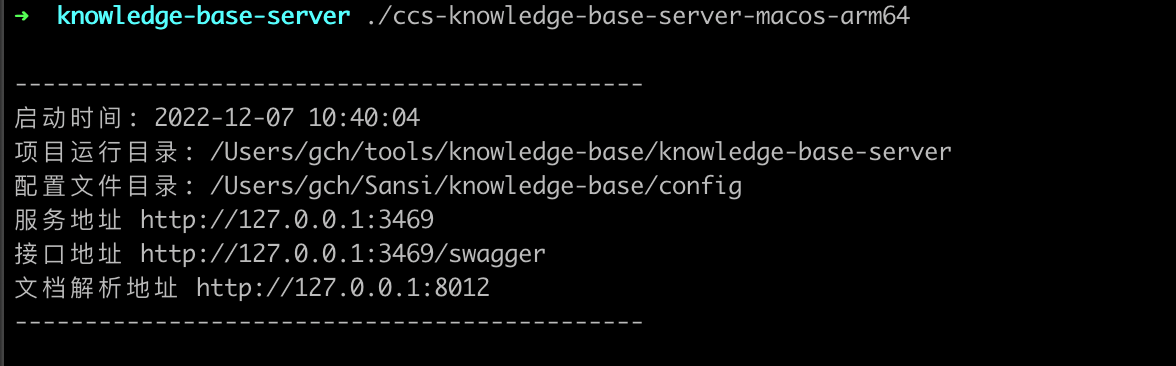
Double-click the executable file ccs-knowledge-base-server-win-x64.exe.
Modify the configuration file located at the user's directory: Sansi/knowledge-base/config/server.json.
Change the host to the local IP.
Modify the database address, username, and password.
Change the knowledge base address.
Change the document preview plugin address.
Double-click the corresponding icon to start the software.
For example: In a Windows operating system, simply double-clicking ccs-knowledge-base-server-win.exe will launch the application. Once the application starts successfully, a command window will appear similar to the image below:
Notes
- If the command window closes immediately, it is likely due to incorrect database username or password.
- When modifying configuration files, do not use the built-in Notepad on Windows. Use editors like Notepad++ or Sublime Text to avoid damaging the file’s data structure.
# IV. Install Knowledge Base Page Plugin
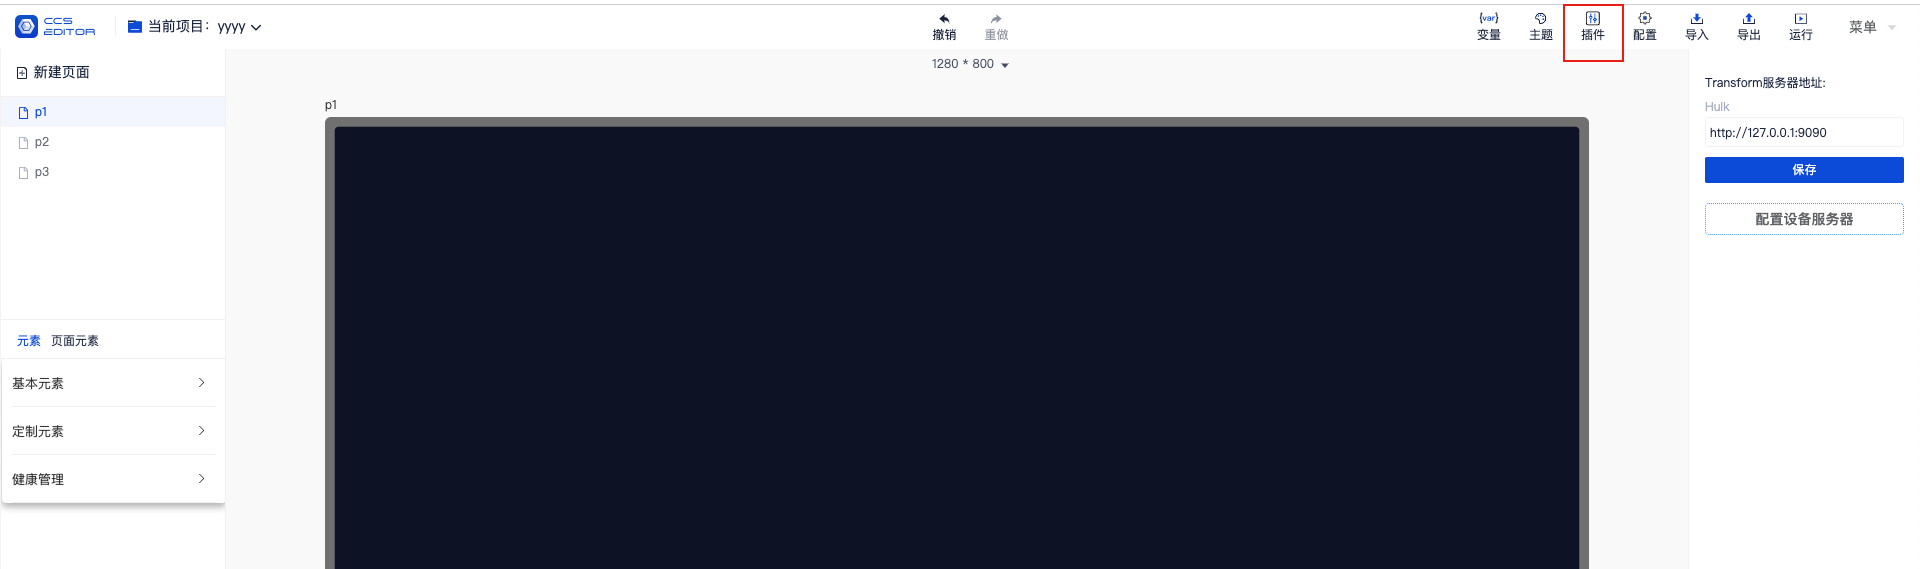
Go to the CCS page: http://172.20.10.2:3436/#/editor to edit the target project.
# 1. Install Components
Click the 【Plugins】 button in the upper right corner.
- Find the Knowledge Base plugin in the plugin repository; 2. Upload the Knowledge Base plugin locally; after successful installation, it will be displayed as follows.

After the page refreshes automatically, the Knowledge Base plugin will appear in the left elements list.

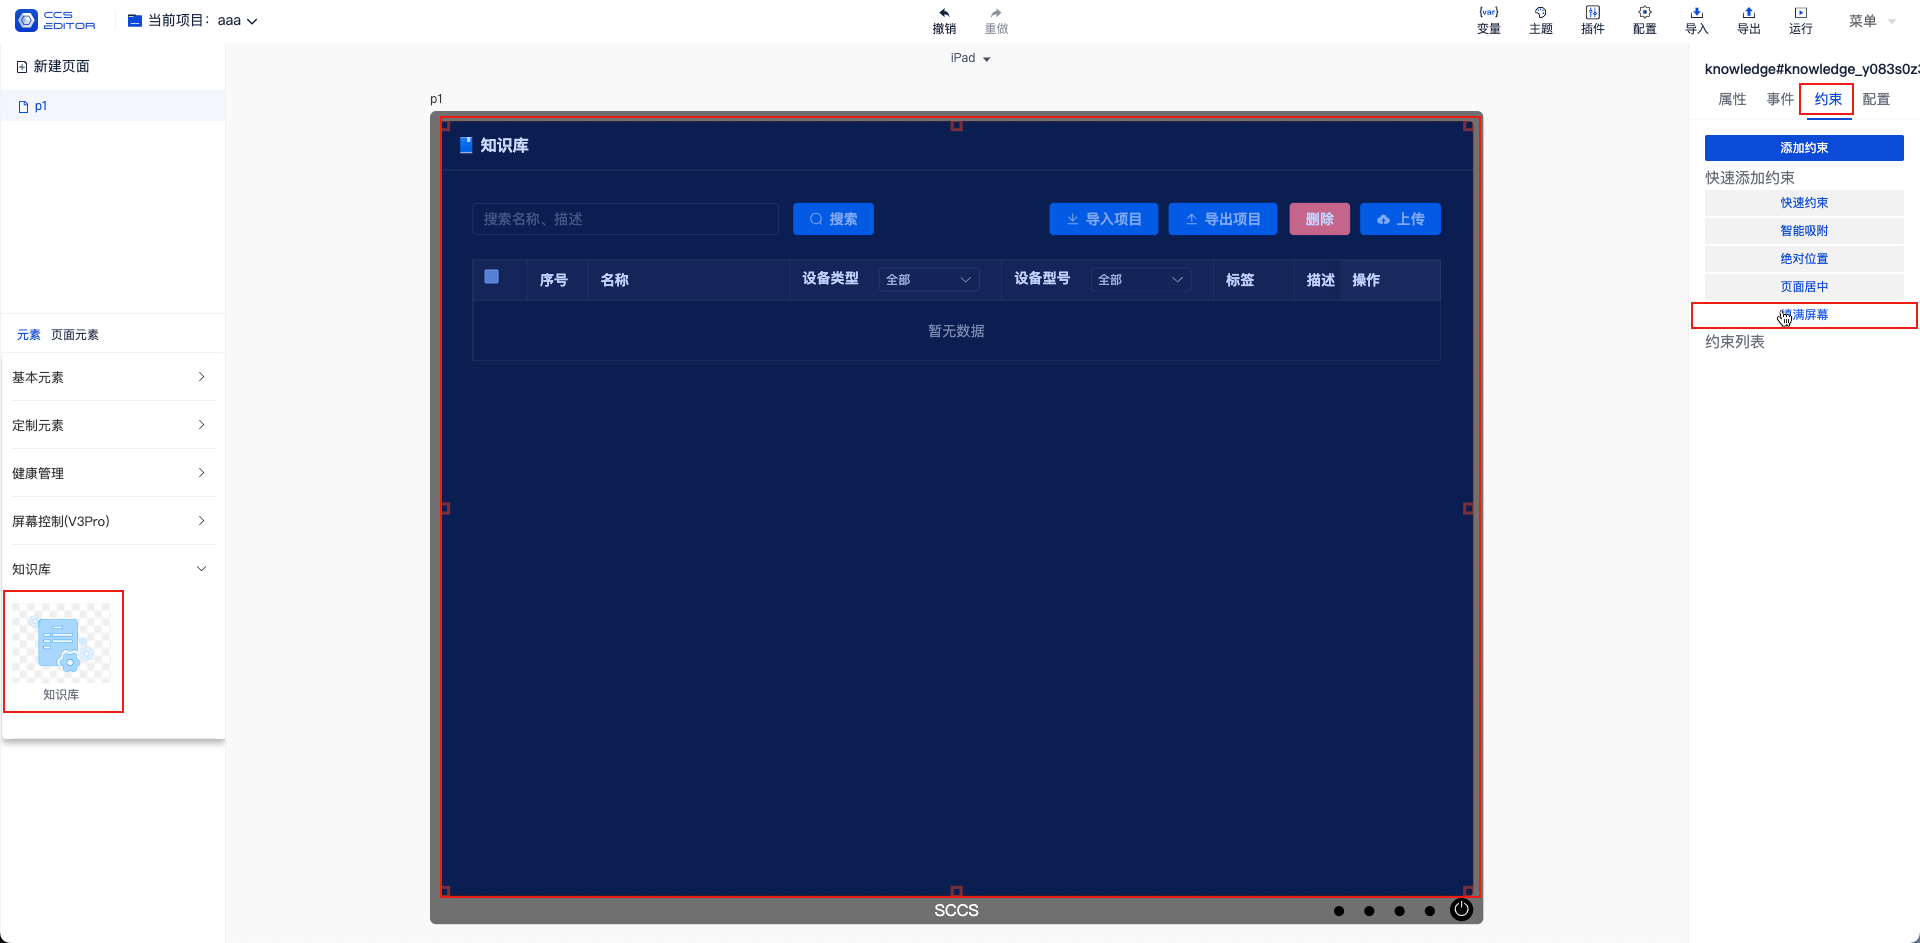
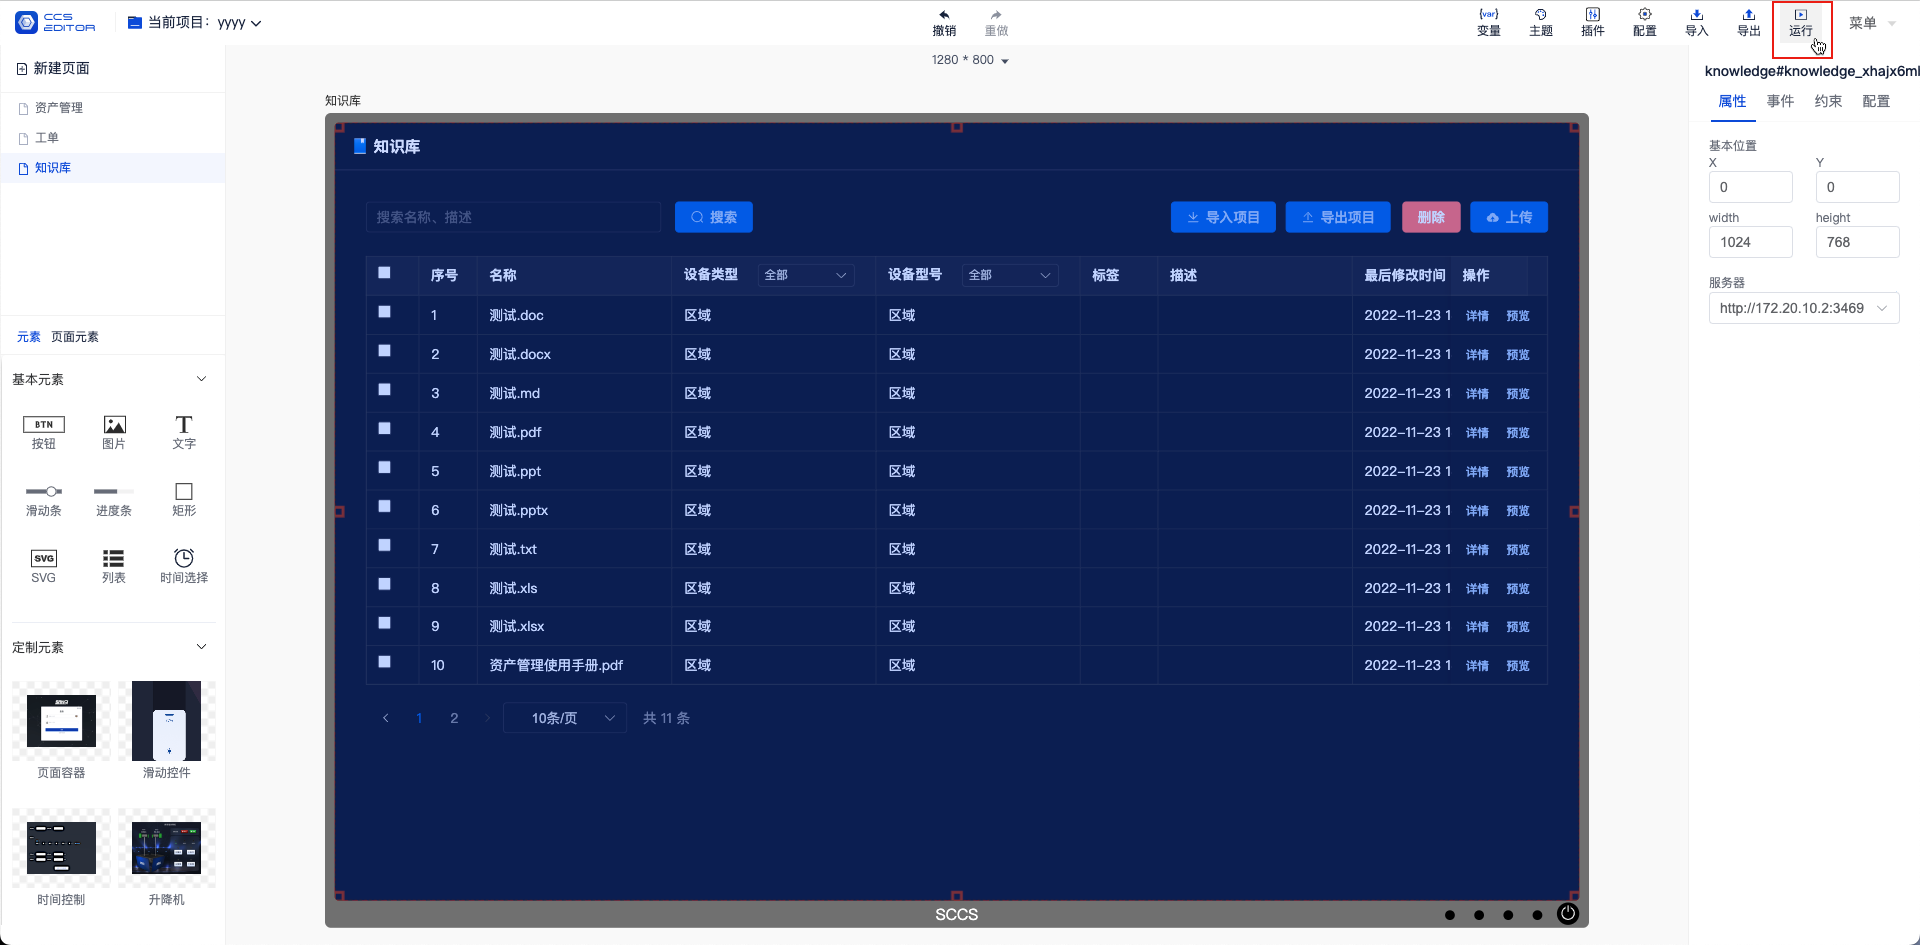
Drag the Knowledge Base component to the editing area and set the constraint to 【Fill Screen】.
# 2. Configure Service Address
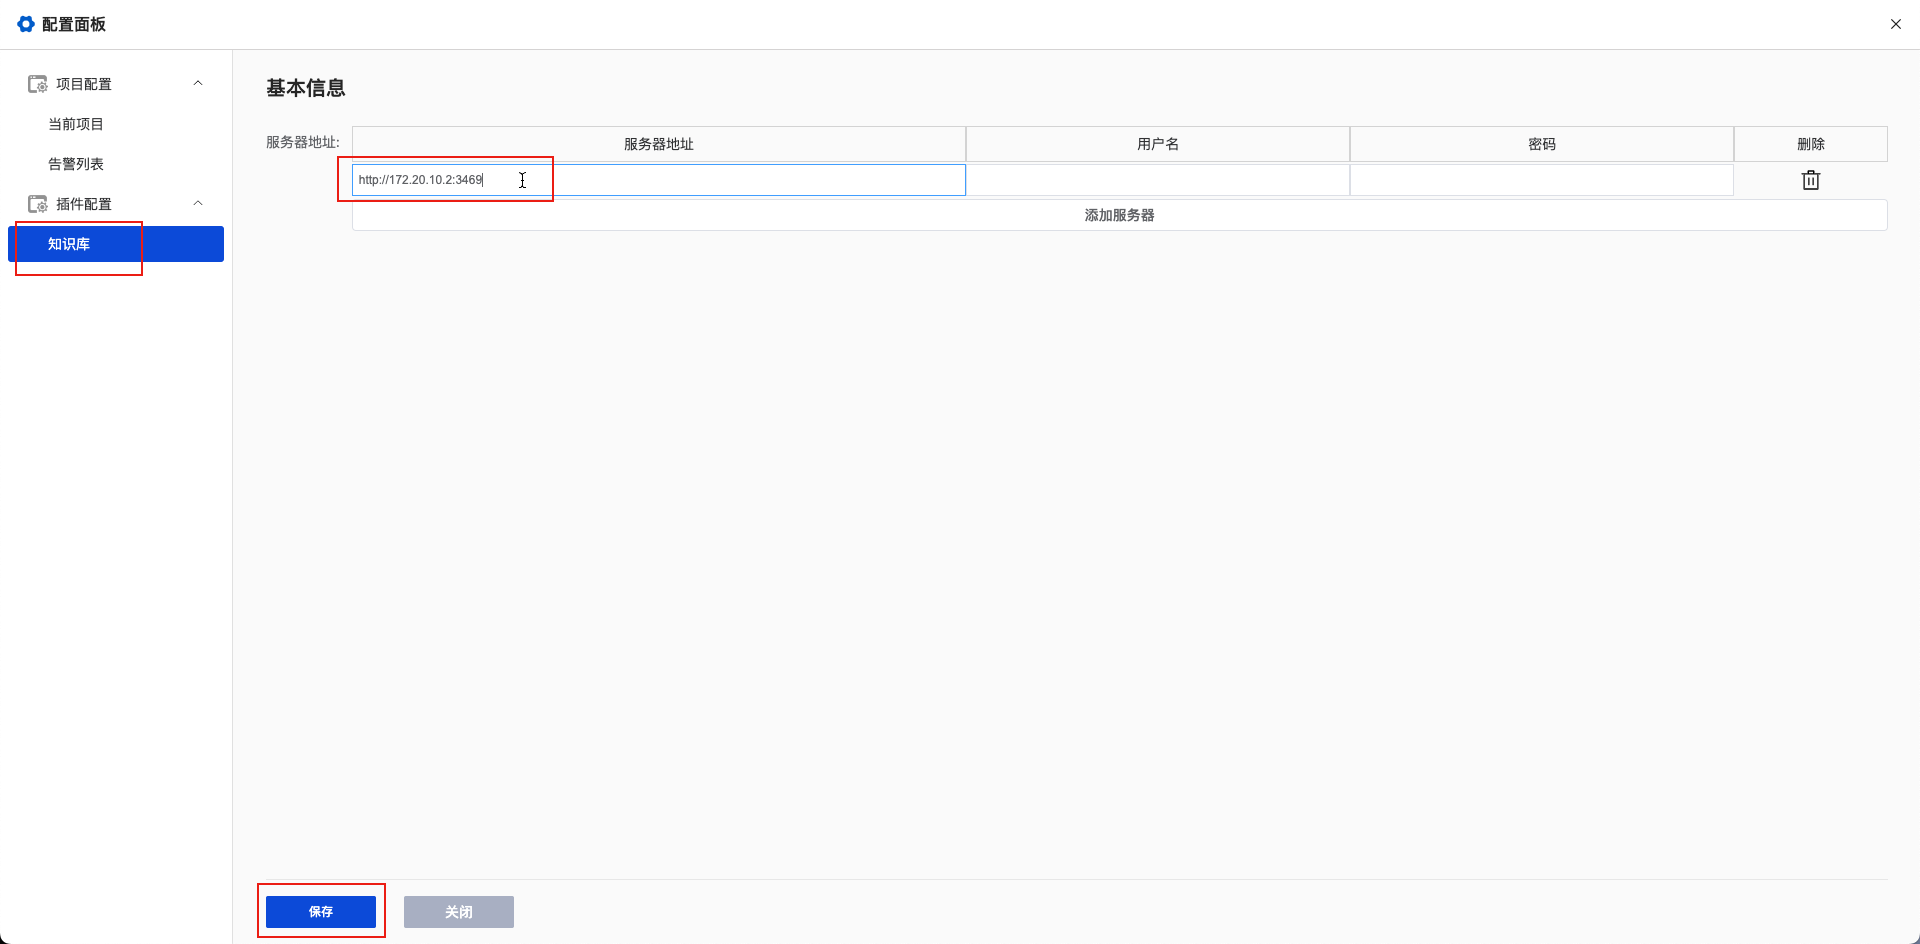
Click the 【Configure】 button.
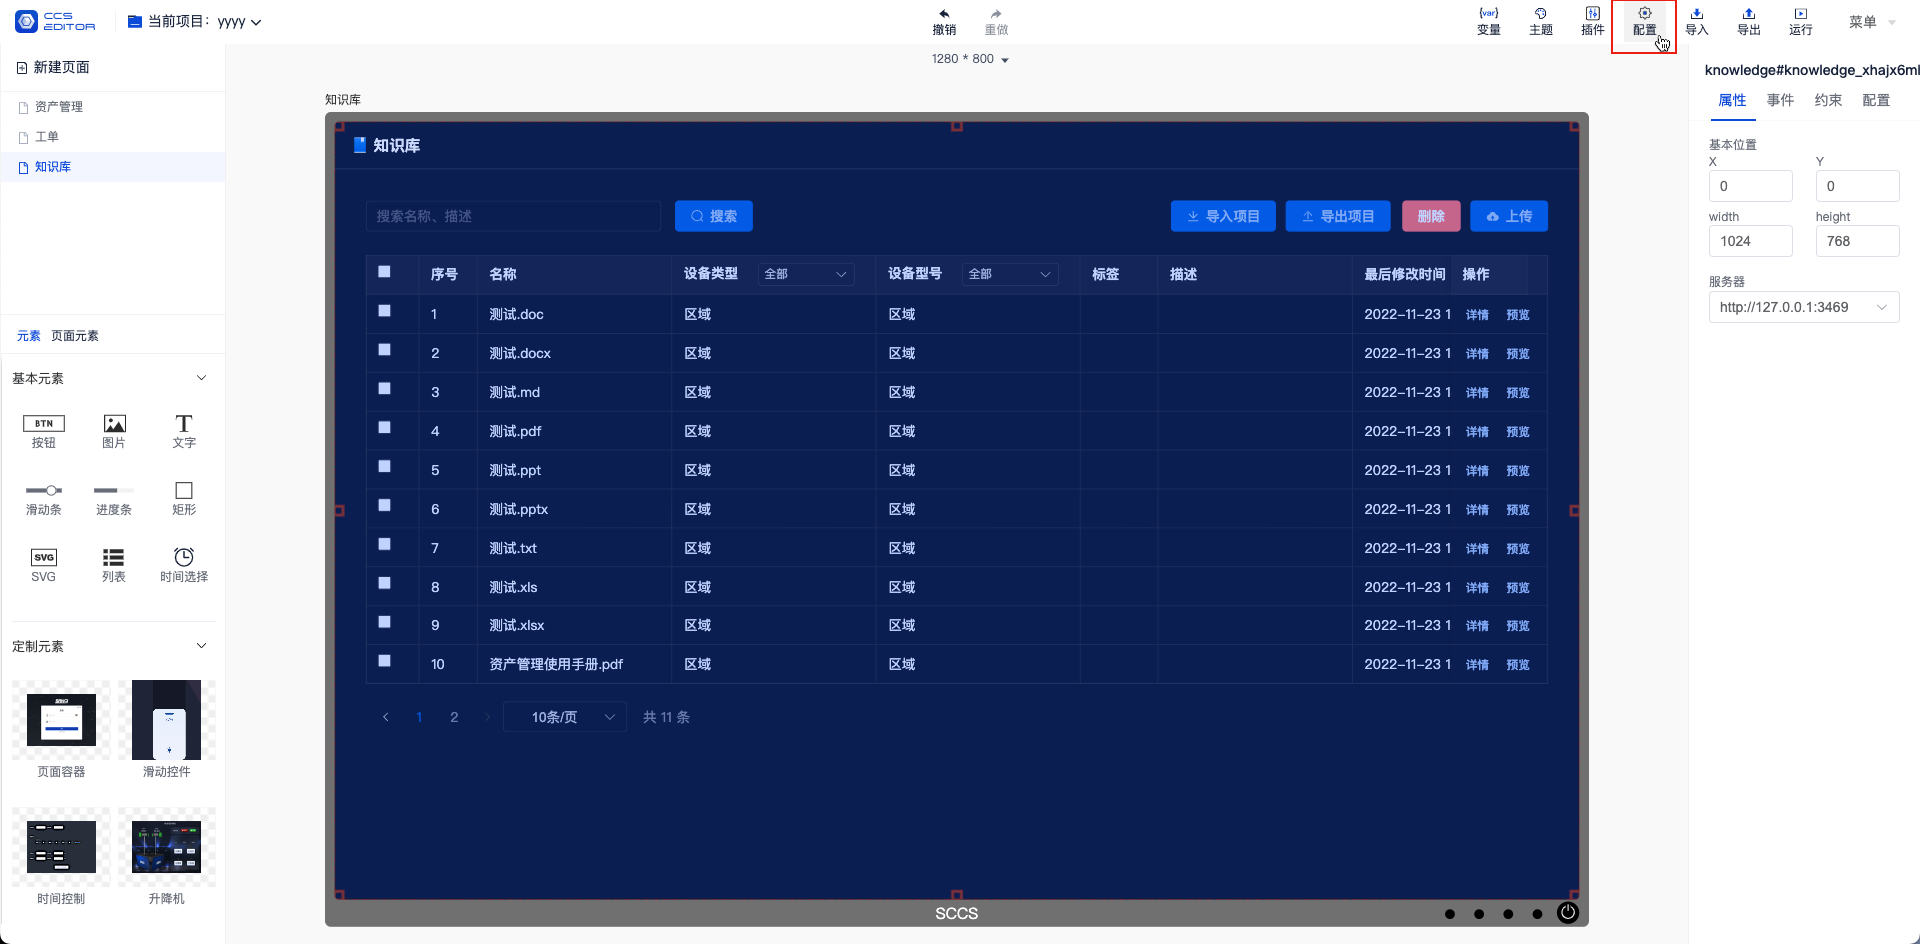
Modify the service address for the knowledge base and save (usually http://127.0.0.1:3469).
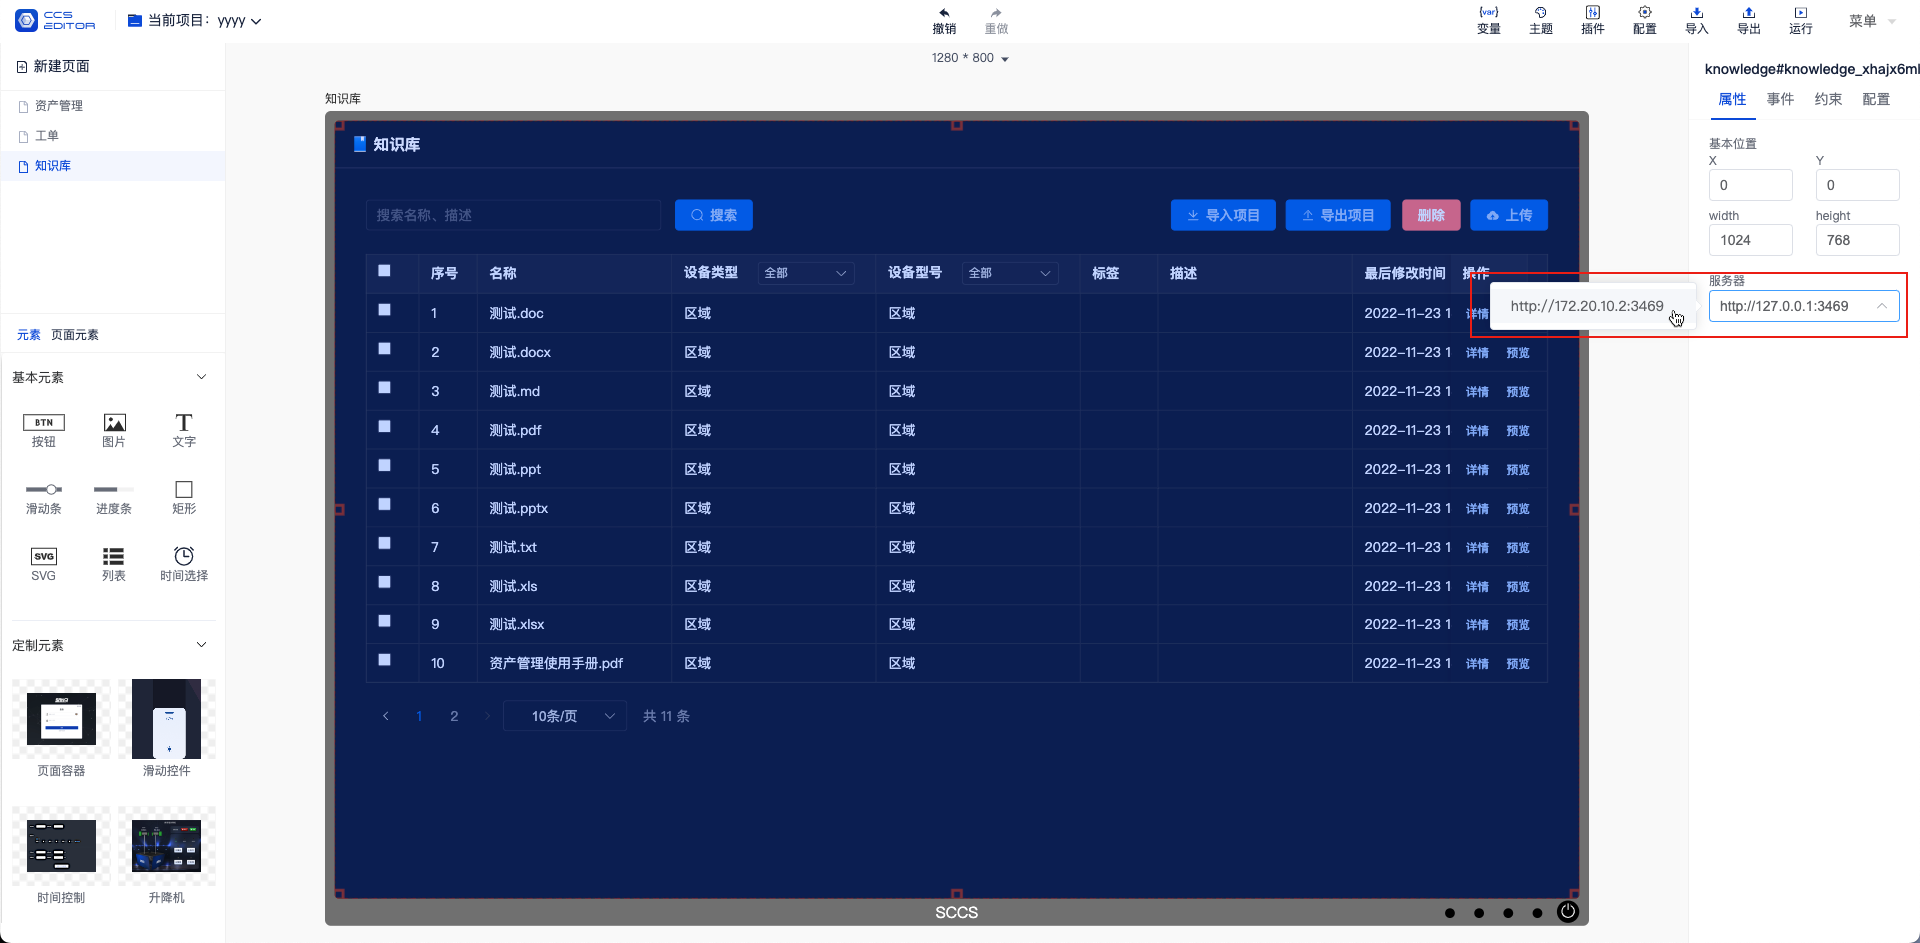
Select the component and update the server address.
Then click the Run button.
# V. Important Data Locations
# 1. Application Data Directory
After the application starts, it will generate relevant files in the user directory as follows:
In Windows systems, the folder path may be: C:\Users\CCC\Sansi\knowledge-base, where CCC is the current username.
In Linux systems, the folder path may be: /home/CCC/Sansi/knowledge-base, where CCC is the current username.
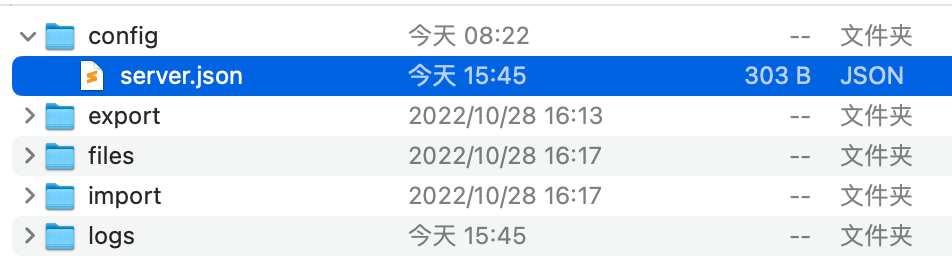
- If adjustments to the application startup port are needed later, please modify the config/server.json file in this directory.
- If there are unresolved faults in the on-site program, please compress and package the logs directory and send it to the development team for fault analysis.
# 2. Data Backup
- Compress the user data directory, such as: C:\Users\CCC\Sansi\knowledge-base, and save it as a backup.
- Export the project data as an export.project.1666941704113.zip file for backup.